ON-SITE REAL ESTATE PHOTOGRAPHY HACKS
At BoxBrownie.com we work with real estate photographers from around the world who shoot a variety of properties, from small apartments to million-dollar mansions.
Our photographers have been doing real estate shoots for years, so have a few handy hacks that are great for those new to the industry. Here are a few handy tips for getting those perfect shots…
Ask About Any Exclusions
Sometimes owners don’t want the whole property included in a shoot, this may be because it is unattractive, which can be particularly true with tenanted properties.
As a photographer, it is always best to ask the owner, or agent, if there are any furniture/ areas of the property that should be excluded from the photo-shoot. This will create trust and make the shoot easier, as well as saving time in the editing process. This is always a good practice as the cleaner your images look, the more the agents will love your shots!
Tip: It’s good to allow a little extra time for tenanted properties as they usually aren’t presented the greatest so take longer to shoot.
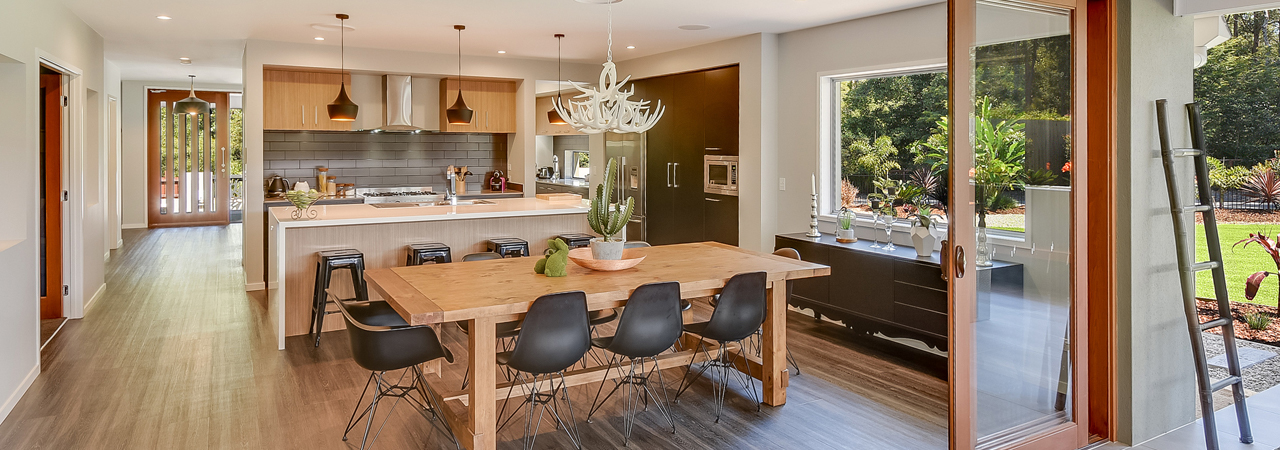
Align Two Corners of The Room
The best way to frame an interior shot is to try and align at least two corners of the room into the corners of the frame. This ensures you show off at least three of the four walls and gives a great visual representation of the room. If you’re having trouble doing this, try aligning the corner of a door or window frame. It’s also good practice to shoot at
Tip: Keep doors open in a room to create depth and space.
Use a Lens No Wider Than 12mm
For the most realistic results make sure you are using a lens no wider than 12mm. If they are any wider and it will make interiors look larger than they really are. If you shoot interiors on 10-11mm, the room can almost look very large, like an aircraft hangar so be aware.
Note: Check with the realtor if there are any large shots they want, some realtors prefer the “larger look” to lure in buyers!
Try Different Angles and Heights
Experimenting with different angles and heights can make your shots really stand out.
If you shoot directly at walls this can make the photo look flat, instead shoot into corners to create depth in your images. Low angles are flattering (low, straight on in boxy kitchens are quite popular), so don’t always shoot everything at eye or shoulder level if you don’t want to. The same goes with the front of a house, elevated shots capture more features of the property.
Show Off Nice Fixtures
Real estate photography is all about showing
Including something like an ornate door handle in a bedroom adds a nice touch and shows off the unique character of a property. The same can be done for elegant staircases and feature windows, it is down to personal preference.
No Power at The Property?
Have you turned up to a property, (especially at dusk) and the power is switched off? No problem, shots will simply take a little longer than usual so always use your flash for all internals. In bathrooms, it’s best to use the flash to focus on the main subject and then turn it off to take the HDR sequence, but sometimes it is best to try a series with flash on just in case.
Tip: If its dusk
Shooting on a Windy Day
Part of real estate photography is being able to do shoots in any weather conditions.
One of the best tips we have is to ensure you only have your flash mounted on your camera when required and keep it off the camera body when you’re not using it. This is to create less wind drag on outdoor images. Using the tripod at a slightly lower height setting will also help with stability in windy conditions.
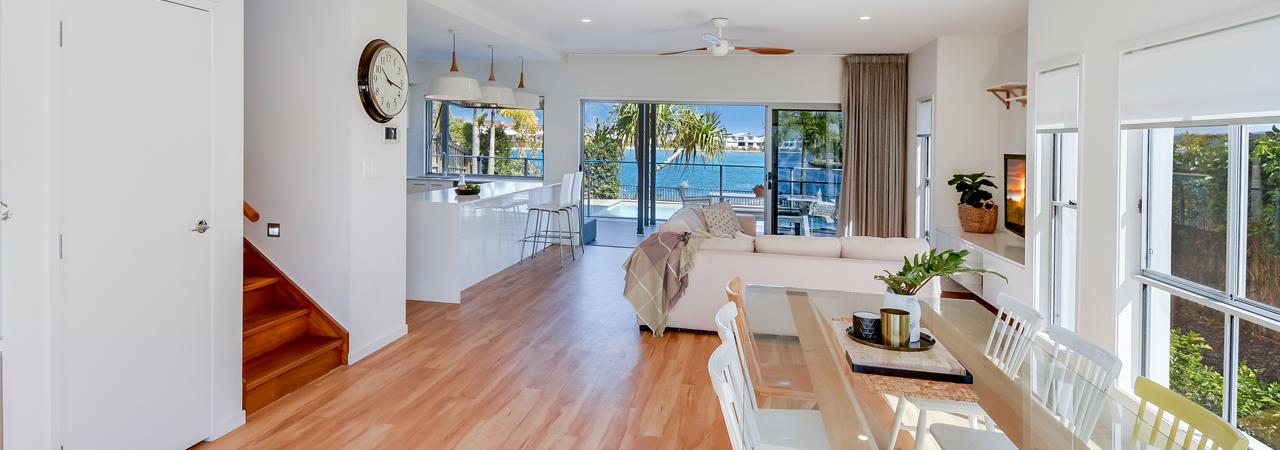
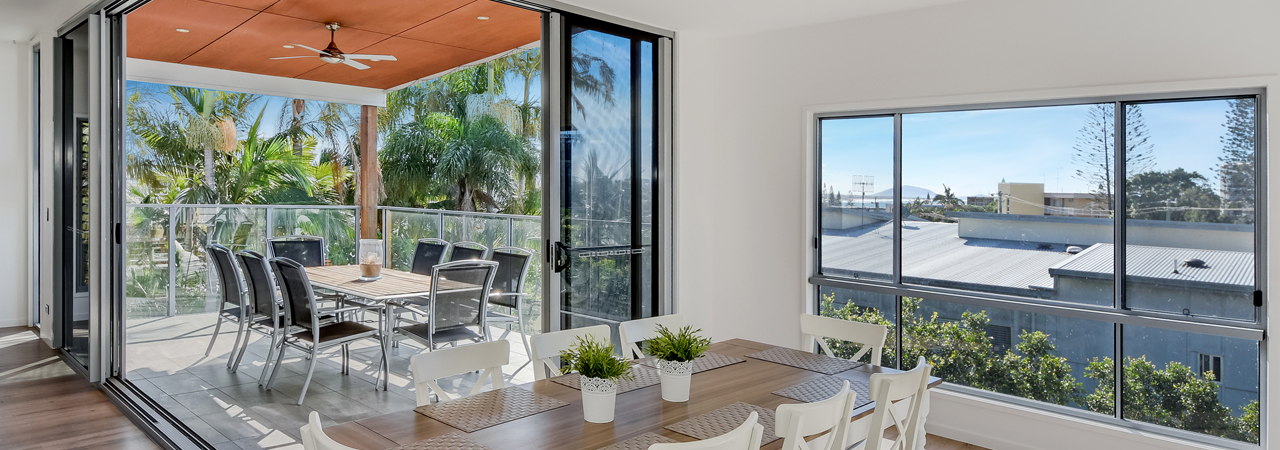
Open All Sliding Doors
You want to ensure your shots are always neat, this can be hard when a room has multiple doors.
Always open all sliding doors in a home to create a larger feel. This better portrays the inside/outside living area, which is always a key feature of a property. Having doors open always creates depth in shots and opens a room more.
Carry Laundry Pegs
It may seem weird, but laundry pegs are a photographer’s best friend.
Keep them in your camera bag so you can secure loose blinds that may be moving in a breeze, especially if you have outside doors open. Also, open louvers and any other doors to show these features off, this
Ensure All Furniture and Cushions are Straight
This has been mentioned previously, but neat shots are essential!
This can be hard with
Tip: Stage any outdoor areas with a bottle of wine with glasses and table setting, remember, less is more in your photos but a simple table setting can look great!
This quick and easy list of on-site hacks will ensure that your edited shots will look exactly how