GETTING STARTED: SETTING UP YOUR CAMERA CORRECTLY
Following our blog ‘The Best Point & Shoot Compact Camera for Real Estate’, it is important to set your compact camera up correctly, so you can get the best possible photos.
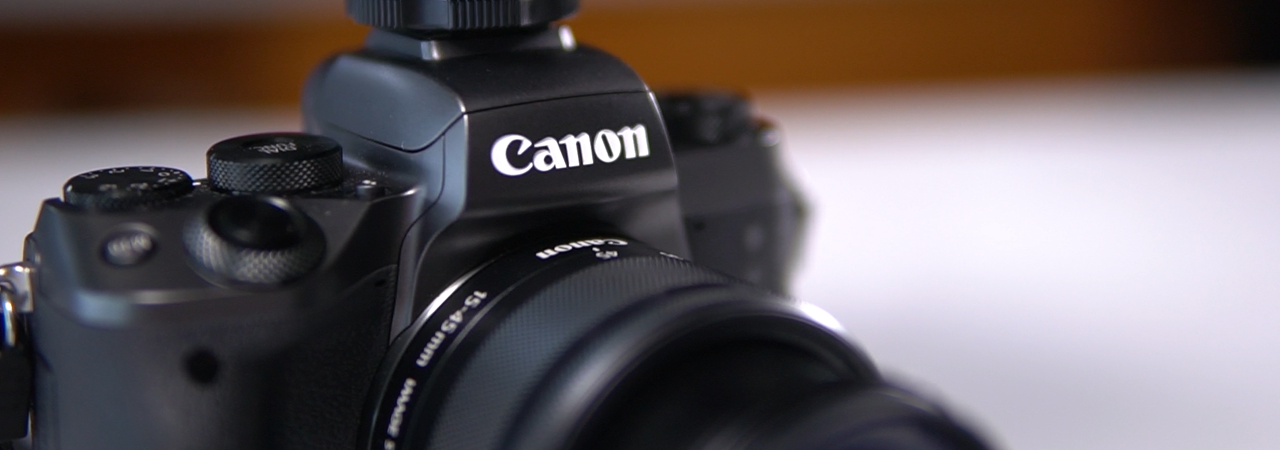
When you’re looking at purchasing a camera for real estate photography, it is important that is has the required settings for the best photos. Most Canon M3 Cameras, the best for entry-level real estate photography, by default will have the settings required.
To get you on the way to taking amazing shots, we have outlined some basic settings to get you started.

Required Camera Menu Settings
Before you start taking photos, ensure the following functions are all saved on your camera before beginning:
- Press the MENU button on the back of the camera and scroll through the following options.
- Find the SHOOT 1 tab and adjust the following:
- Image quality – Large = Full ¼ circle setting in JPEG (don’t shoot in RAW)
- Still Image Aspect Ration – 3:2
- Image Review – 2 seconds - SHOOT 2
tab and adjust the following:
- AF operation –One shot
- AF method – “L” + tracking
- Continuous AF - On
- AF+MF – Off
- Lens aberration correction – Enable both options - SHOOT 3
tab and adjust the following:
- ISO speed – 100
- ISO auto – 400
- Metering mode –First option that looks like an eye in a box
- High ISO speed NR – Click the second last “HIGH” option with the three bars
- Flash Control – Leave these as standard - SHOOT 4
tab and adjust the following:
- Long exposure noise reduction – ON - SETUP 1 leave as is
- SETUP 2 leave as is
- SETUP 3, adjust the following:
- Beep – ON - SETUP 4 leave as is
Camera Flash Settings
Using a flash correctly is essential to quality, well exposed, real estate images, particularly if you are doing bracketed photos. As mentioned in our previous blog, the Godox TT520 II Flash is the best for real estate, especially for the Canon M3 EOS compact camera. Below are flash settings we recommend for the best results.
- Turn the flash ON
- Press - button so the power is on the lowest setting. If you need more brightness in your photos simply turn the power up and experiment with your bracketed shots.
- We recommend sending us 3 to 7 brackets for very high contrast interior areas, with flash on LOW and HIGH. This way our editors have all the camera information needed to create a standout final image.
It’s always easier to take additional shots/brackets on-site, as it will save going back to re-shoot. The more photos taken at different lights make it easier for our editors to blend the photos better. Ensure you have enough "photo information' on each bracketed shot you take so we can merge the photos together. - Open the built-in wide Flash Extender on top of the flash, this makes the flash fire wider. Point the flash up 45 degrees toward the roof to bounce the flash off it. Real estate photographers have been using this technique for years and find that it works the best.
- Flash MODE setting is on S1
You’re ready to shoot with flash!
* Bathroom Flash Tip – Turn OFF the flash unit when shooting in bathrooms, and some kitchens with lots of reflective surfaces. This will stop flash reflection in your images. Remember, every home is different, so shoot both ways (with and without flash), and send us both images!
By following these steps for setting up your camera and flash you’re a step closer to stand out photos of your property. Even if you don’t get the perfect shot, our photo-shoot gurus can make nearly any image look amazing with our Image Enhancement edit.
Our next blog 'Using Your Canon M3 Camera Like a Pro' will cover ways to use your camera correctly to get the best property shots.
