HDR BRACKETED IMAGES - HOW IT WORKS
Bracketing is a common technique used by photographers to produce images with a High Dynamic Range (HDR) and detail. All the best photographers do it and so should you.
The process involves taking multiple photos, to ensure you get at least one good picture. The technique includes combining different elements of a photo to get the best version, such as exposure, focus, and white balance. The technique of capturing various levels of exposure, and then blending the images, allows photographers to capture internal and external details all in the same photo.
If you’re a photographer we recommend using our ‘Image Enhancement with HDR Bracketed Images’ service, this way you can create top-quality photos every time.
What’s Involved
As the name suggests bracketing involves taking a sequence of pictures of the same scene using a range of exposure settings on a good sturdy tripod, with a good-quality camera. The reason you would want to do this is to ensure you get one well-exposed picture of a scene, a one-off photo with a camera won’t achieve this.
After capturing a sequence of images photographers will sit down for hours combining them in editing software. This is time-consuming and the last thing a photographer wants to be doing, that is where BoxBrownie.com comes in. Once you have taken your bracketed images, upload them to our 24/7 self-service website and wait for our editors to do the work for you.
How to Get the Best HDR Bracketed Shot
High Dynamic Range (HDR) bracketing creates stunning, clear images, which can’t be achieved by taking one photo. There are two ways of doing HDR bracketing; you can manually do it or let the camera do it automatically.
To take them manually, set the camera up in manual mode and then adjust the aperture or shutter speed to give you a brighter or darker image. The simplest way is to use your camera’s exposure compensation function. The way to do this is:
- Set your camera up on a tripod, so there is no movement between shots
- Take a picture that is properly exposed. If shooting an interior ensure you are using an external flash.
- Use the camera’s exposure compensation option to underexpose your image by one to three stops (-1 to - 3)
- Do the same again, but overexpose by one to three stops (+1 to +3)
- You should then have a minimum of 3 shots.
We recommend if your camera has it, to use the automatic bracketing setting or exposure compensation setting, this ensures the best accuracy. In addition to using the correct settings, it's essential to get enough ‘photo information’ in the shots so there is enough information to work with when editing.
Once you have your three to five shots, upload them to the HDR Bracketing tab on your BoxBrownie.com dashboard. Our editors will then combine them into a single photo, by taking the best part of all images to create a single frame masterpiece.
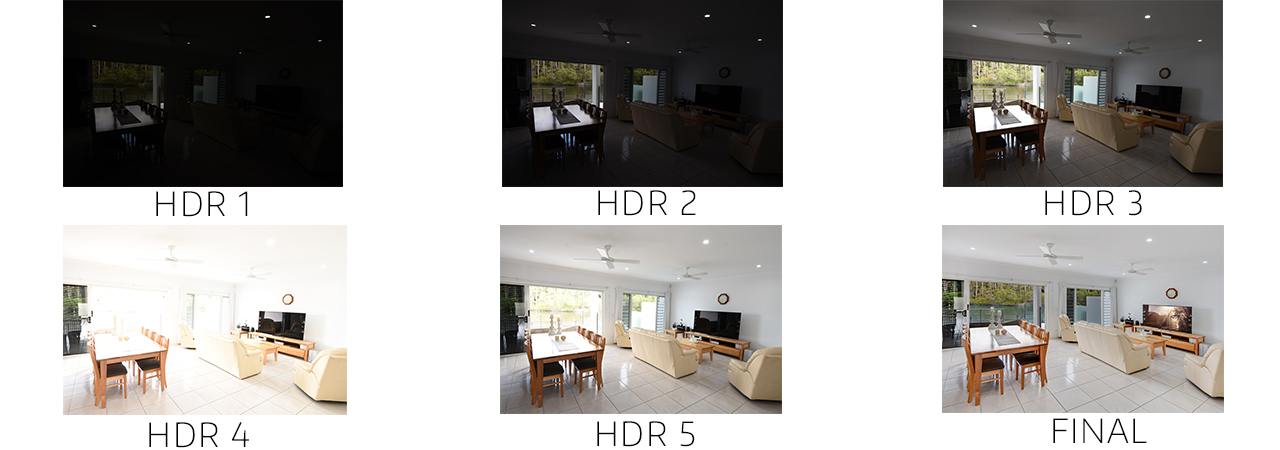
Here Is How Each Exposure Should Look
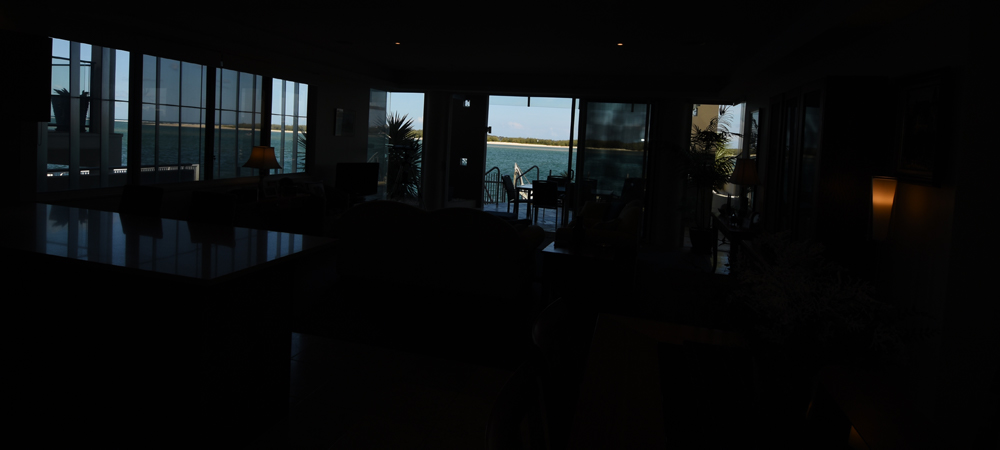
This is an underexposed image, using -1 to -3 stops. As you can see all the exterior window details are visible for our editors.

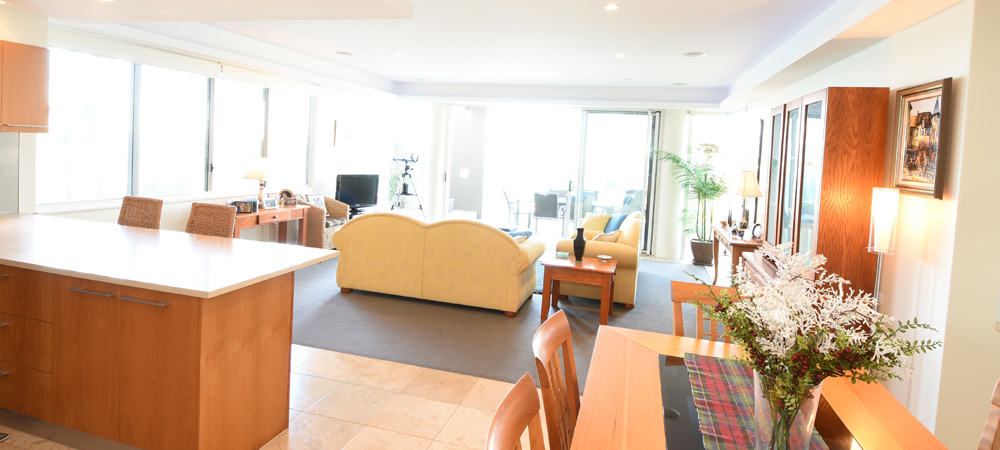
This is a normally exposed shot. This shot could have been a little brighter, but we just need to be about to see enough interior details.

Finally, and

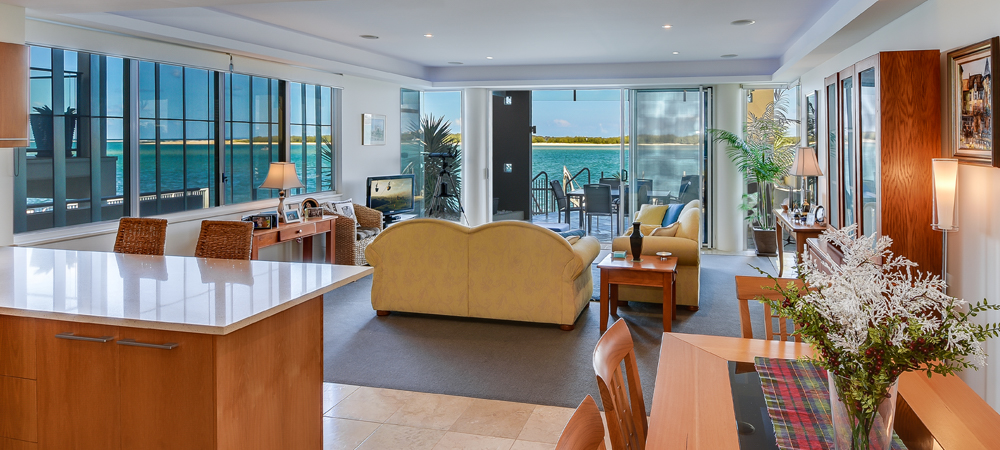
Our editors will then combine the photos, to create a single shot that looks like this:

When Bracketing Doesn’t Work
Bracketing is generally best for still shots, as it is difficult to catch multiple exposures of a moving object. When using bracketing, you need to be aware of any moving elements in the image, such as people, animals, or any moving objects, as these will make it trickier to blend the shots later. It is also important to keep the aperture the same if you’re planning on combining frames as the depth of the image will change.
Bracketing is an excellent way to capture amazing scenes in detail, we can then help you to create that one image that has the ‘wow’ factor.
Our Image Enhancement with bracketed images starts at just US$1.60, so why not give it a go today?