HOW TO CREATE A VIRTUAL HOME TOUR
Introduction:
When paired with magazine-quality images, a floorplan and professional copywriting, a 360-degree Virtual Home Tour can be a powerful addition to your property marketing. But, we are continually asked by clients, ‘how do we go about creating virtual tours for our listings?’
In this blog, we will be walking you through each step of the process from start to finish to give you an idea of just how fast, affordable and easy creating your very own property virtual tour can be.
Before we get started, if you’d like to check out a completed virtual tour for yourself, simply click here and try it out.
Step 1 – What 360 Camera Do We Recommend?
The camera market and new technologies are always changing however, at the time of writing this blog, we highly recommend shooting your virtual tours with the Ricoh Theta Z1. This is a fantastic camera and it produces the highest quality image out of all the 360 cameras available on the market. The Z1 is also incredibly simple to use, it’s lightweight and readily available making it the perfect addition to your camera arsenal.
 If any agents are on a smaller budget or you just want to ease into the world of virtual tours, we would recommend the Ricoh Theta V. This camera will still produce quality images but they are considerably cheaper than the Z1 and could be a good place to start.
Step 2 – How To Bracket With Your 360 Camera
If you’ve been following the BoxBrownie.com blog for a little while, you will have no doubt heard us talk about the importance of using bracketed images. If you’d like a little refresher on what exactly bracketing is, you can check out one of our previous blogs here on How To Shoot HDR Bracketing. While this blog focuses on HDR bracketing, the same concept applies when shooting your 360 tours.
Bracketing is where you set your camera up to take multiple exposures from the same angle. These images are then blended together in the editing process. This results in a stunning final image that is crisp, clear and in focus for all aspects and elements of the shot.
All cameras are different and some of the settings may vary. For this example, we will be walking you through how to set up bracketing on your Ricoh Theta Z1. Follow the below steps to set up bracketing:
- Open up the Ricoh app on your smartphone
- Select the setting icon in the top right corner
- Under ‘Shooting method’ select ‘Multi bracket’
- Then select the setting for each of the 10 manual brackets (listed below)
Bracket 1: F 5.6, ISO 100, Shutter speed 1, WB 5600 K
Bracket 2: F 5.6, ISO 100, Shutter speed 1/2, WB 5600 K
Bracket 3: F 5.6, ISO 100, Shutter speed 1/4, WB 5600 K
Bracket 4: F 5.6, ISO 100, Shutter speed 1/20, WB 5600 K
Bracket 5: F 5.6, ISO 100, Shutter speed 1/50, WB 5600 K
Bracket 6: F 5.6, ISO 100, Shutter speed 1/160, WB 5600 K
Bracket 7: F 5.6, ISO 100, Shutter speed 1/320, WB 5600 K
Bracket 8: F 5.6, ISO 100, Shutter speed 1/640, WB 5600 K
Bracket 9: F 5.6, ISO 1250, Shutter speed 1/1250, WB 5600 K
Bracket 10: F 5.6, ISO 100, Shutter speed 1/3200, WB 5600 K
Step 3 – How To Prepare Your House
Like most things in real estate, it’s all the little things that add up to make the big differences. By preparing the property before you start shooting, you will save time and it’s easier to make sure you don’t miss anything. Furthermore, a well-prepared property will mean you can simply focus on taking that perfect shot when it comes time to start shooting.
We have prepared an extensive Pre-Photography Checklist to make this process easier and you can view that here. In a nutshell, you want to make sure all the furniture is straight and tidy, remove any unnecessary clutter, turn on all the lights and open up any doors, windows and curtains. Less is almost always more when it comes to real estate photography and this is a good rule of thumb when preparing your property to show like a model home.
Step 4 – Shooting Your House With A 360 Camera
Now for the fun part. Step four is when we can actually start shooting the property with the 360 camera.
Firstly, you will need to carefully place the 360 camera in the centre of the room and then hide away in the adjacent room or around the corner. Next, quickly scan around the room using your smartphone to make sure everything looks good and then take the shot.
If all the settings are correct, your camera will then automatically capture all 10 brackets and you’re ready to move onto the next room.
You will want to capture all the major rooms like with any property photography shoot. Capture the kitchen, living areas, bedrooms, bathrooms and the outdoor areas. It’s also a good tip to shoot the hallways and adjoining areas as it allows your tour to flow nicely throughout the property. Make sure to have a good line of sight between the rooms being shot for smoother navigation of a tour.
Depending on the square footage of the home, this can be a very fast process and will allow you to get in and out of the property with little disruptions to the current residents.
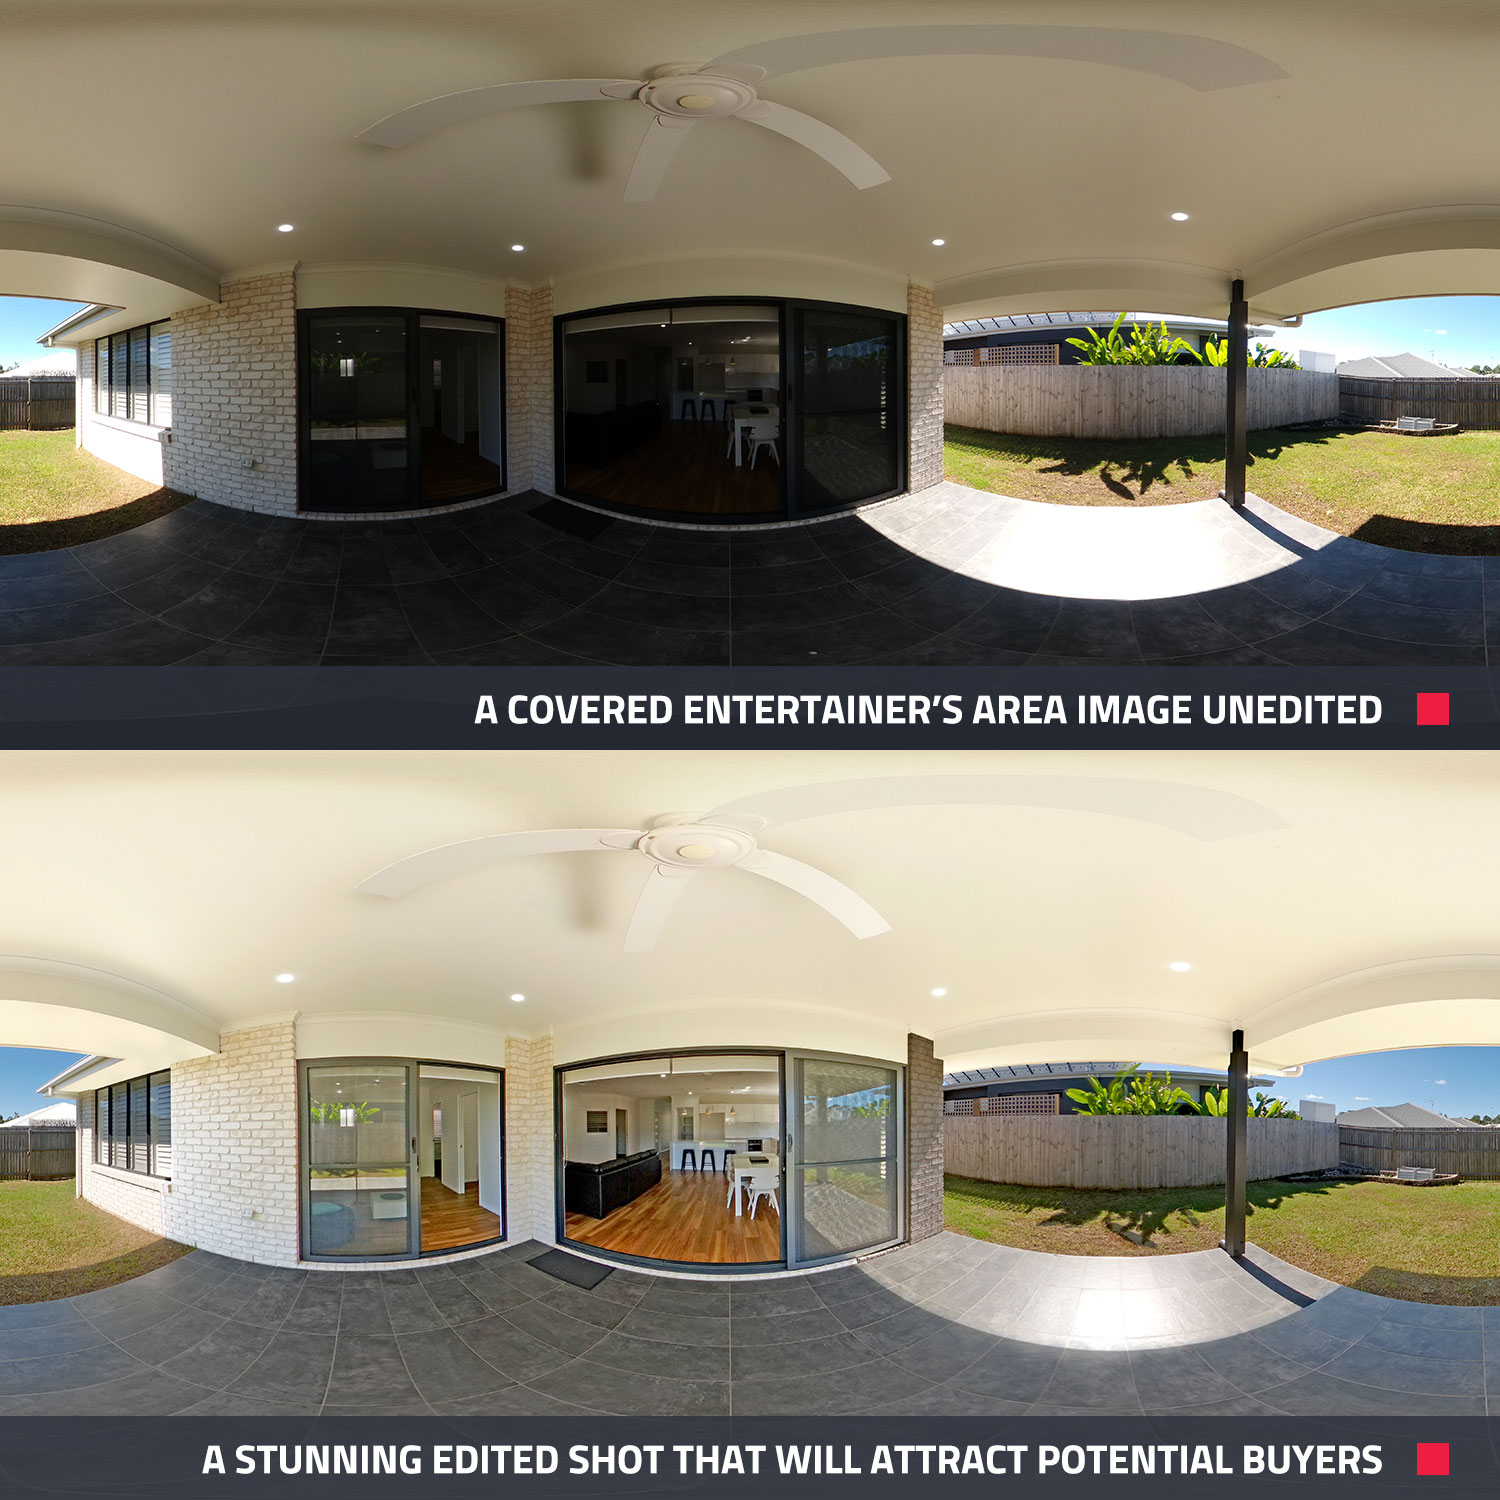
Step 5 – Getting Your Images Edited
This is truly where the magic happens. Having your images edited by our professional editors will make a huge difference to the finished product and can be extremely affordable.
To have your images edited, you simply need to follow these steps:
- Log on to Boxbrownie.com
- Select the ‘360 Image Enhancement tab on your Dashboard
- Upload your first set of bracketed images, select them all and select ‘Group Images’
- Then you can go ahead and upload your second set of images and repeat this process for as many groups of images as you have captured
- Once completed, select ‘Next’
- Go ahead and select your preferences from the range of options
- Once completed, select ‘Next’ to submit your job
Within 24 hours, you’ll receive your edited images ready to be built into a 360 Virtual Tour.
 Step 6 – How To Create A Virtual Tour
Having your Virtual Tour created is incredibly simple. You can follow the easy steps below to get started:
- Log on to your Boxbrownie.com Dashboard
- Select the ‘360 Virtual Tours’ tab
- Upload your newly edited images and name each area of the house
- Submit your job
Within 24 hours you will receive your completed virtual tour ready for your marketing. The tour will be available via a link that can be shared through email, social media, on your website or your MLS. Once again, here is a sample tour to give you an idea of the finished product.
Conclusion
It really is as simple as that. Creating a 360 Virtual Tour doesn’t have to be expensive or time-consuming and the finished product can be simply spectacular. If you’d like to get started, you can sign up today to BoxBrownie.com and claim your four FREE photo edits on signup. If you have any questions feel free to contact the friendly team at [email protected], we’re more than happy to help.
RELATED ARTICLES
Don’t know where to start when it comes to creating your very own 360-degree Virtual House Tour for your latest real estate listing? In this blog, we will walk you through the entire process from choosing the right camera to taking the shots and building the tour itself. It doesn’t have to be a stressful process and can help your properties stand out from the crowd.
READ MORE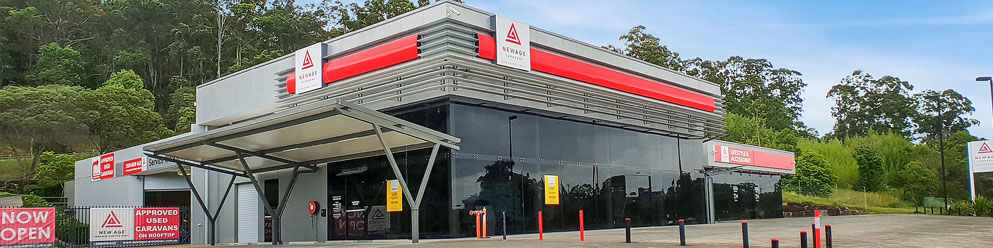
Smartphone cameras are getting really good these days… but can they take photos good enough for real estate photography? Well, what better way to put it to the test than by shooting a $4.2 million dollar commercial property with a smartphone!
READ MORE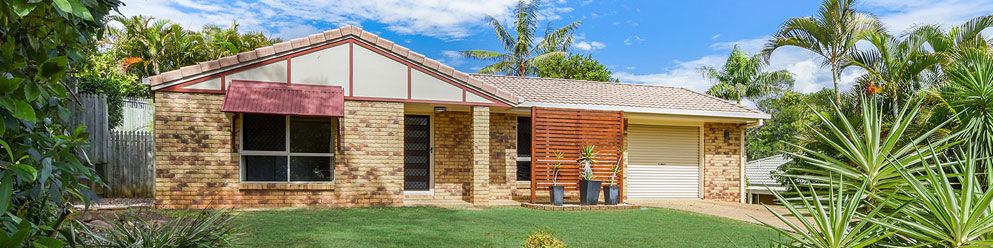
Want to learn how to shoot real estate like a pro? What about learning how to shoot a property in under 7 minutes? In this article, world class real estate photographer Brad Filliponi shares some of his tips on how to help shoot and sell property faster!
READ MORE
Harness the power of technology and add a dynamic layer to your marketing with these 5 tips that will not only save you time, build your brand, and generate new leads but will also sell your listings faster.
READ MORE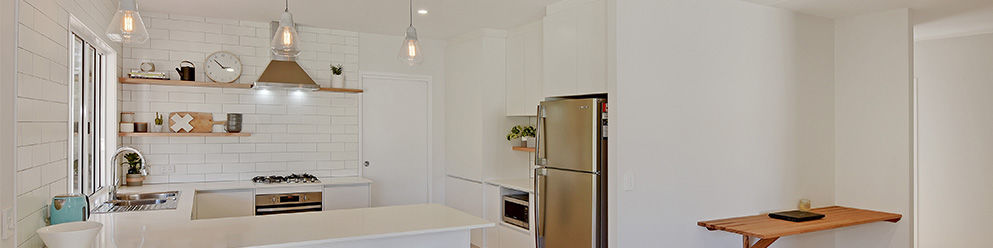
Market your property by standing out from the crowd with an engaging hero shot. Learn the tips to look out for when selecting the right image for your listing.
READ MORE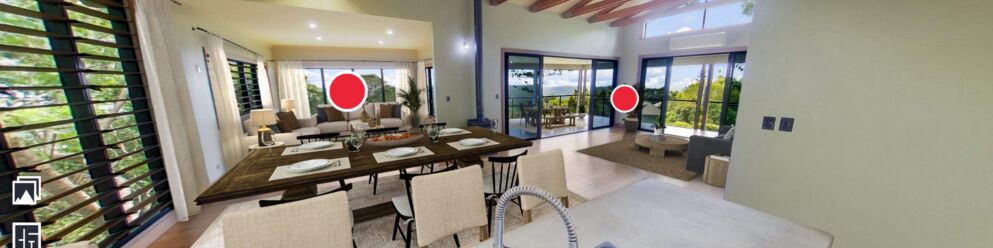
Virtual Tours have revolutionized real estate marketing, but are you using them ethically? Learn how to maintain transparency, accuracy, and respect for potential buyers to build trust virtually. Discover the key considerations and best practices for leveraging Virtual Tours in your listings.
READ MORE