HOW TO TAKE A COST-EFFECTIVE PROFESSIONAL HEADSHOT YOURSELF
Is it time to update your headshot? We offer a cost-effective and convenient solution: take it yourself. Follow this step-by-step guide, and you can capture a professional headshot on your own. Achieving a polished and high-quality headshot can be surprisingly simple!
1. Camera Setup
Use a good-quality camera: If you have the equipment, you can use a DSLR or a mirrorless camera with a decent resolution. However, most modern smartphones have excellent cameras and can produce professional-looking headshots.
Wipe the lens: Ensure that the lens is clean to avoid any smudges that could affect the clarity of the image.
2. Location and Background
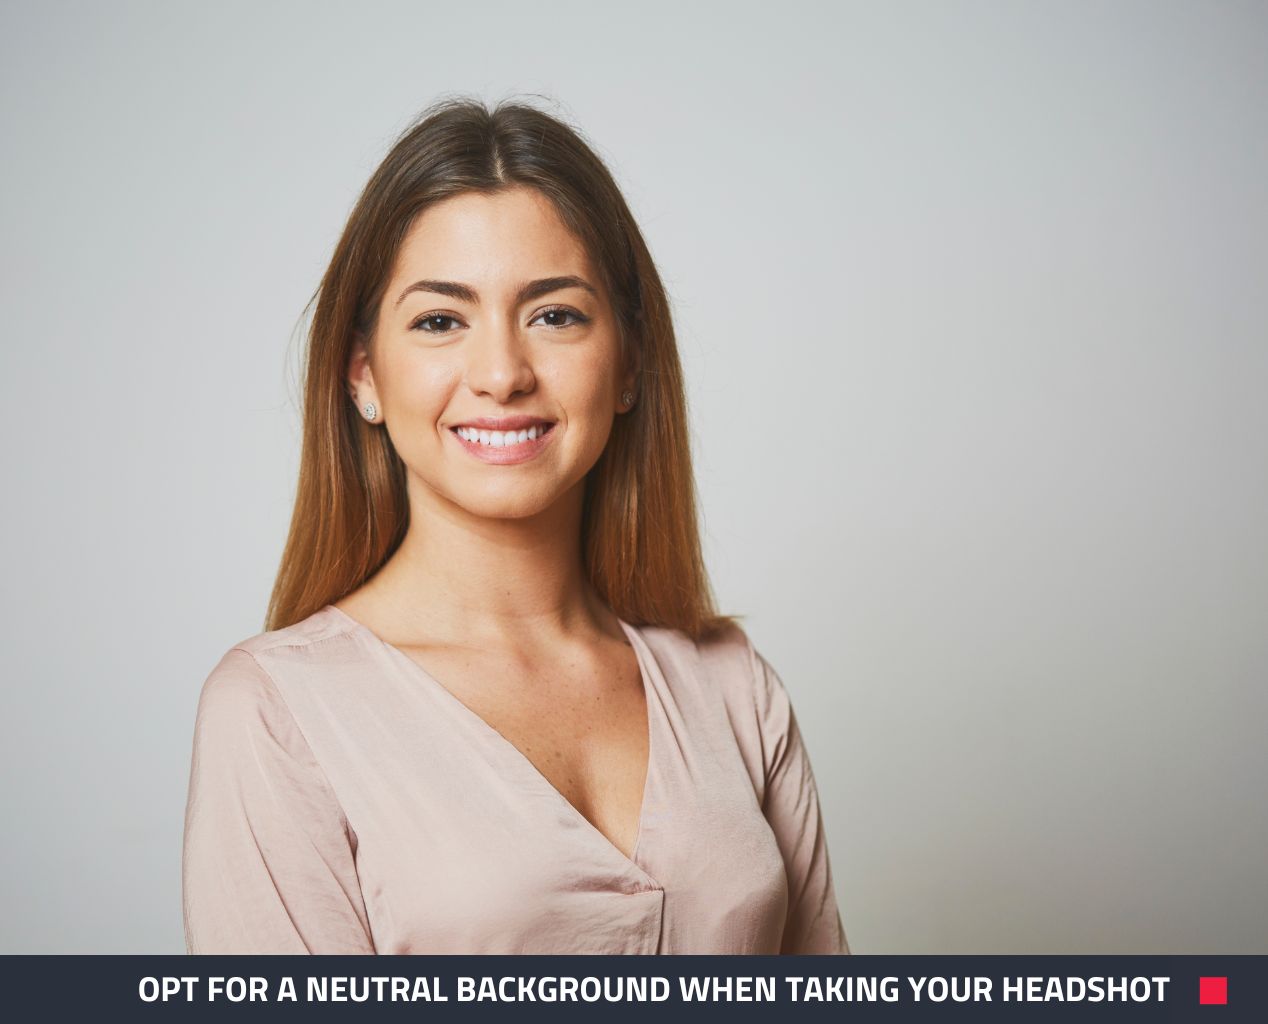
Choose a clean and neutral background: Opt for a plain background, such as a white or light-colored wall, to keep the focus on your face. Avoid distracting elements.
Hint: If you can’t find a background that works, you can always remove the background with our editing service.
Good lighting is crucial: Natural light is ideal, so position yourself near a large window. If shooting indoors, make sure the room is well-lit.
3. Tripod and Timer
Use a tripod: To avoid camera shake, mount your camera or smartphone on a stable tripod. If you don't have a tripod, find a stable surface to place your camera.
Set a timer: This allows you to get into position before the photo is taken, ensuring a sharp image.
4. Framing and Composition
Frame your shot: Position yourself 80 – 120 inches (2 – 3 meters) away from the camera, ensuring that your head and shoulders are in the frame. Leave some space above your head and around your shoulders for a balanced composition.
Follow the rule of thirds: Place your face off-center, following the rule of thirds, to create a more visually appealing composition.
5. Camera Settings
Set your camera to the highest resolution: This ensures a sharp image with plenty of detail.
Use a wide aperture (low f-stop): This helps to create a shallow depth of field, blurring the background and making you stand out. The recommended aperture for headshots often falls within the range of f/2.8 to f/5.6, depending on the desired effect.
6. In Front of the Camera
Posture and relaxation: Stand or sit up straight to convey confidence and professionalism, ensuring you relax your shoulders to avoid tension visible in your face.
Facial expression: Smile naturally for an approachable and friendly appearance. Experiment with expressions to find the one that best suits your professional image.
Wardrobe and grooming: Dress professionally by choosing clothing that represents your desired image. Pay attention to grooming, ensuring neat hair and a well-groomed face.
7. Review and Select
Take multiple shots: Capture a variety of poses and expressions to have options during the selection process.
Review and select: Look through the images and choose the ones that best represent your professional image.
8. Editing
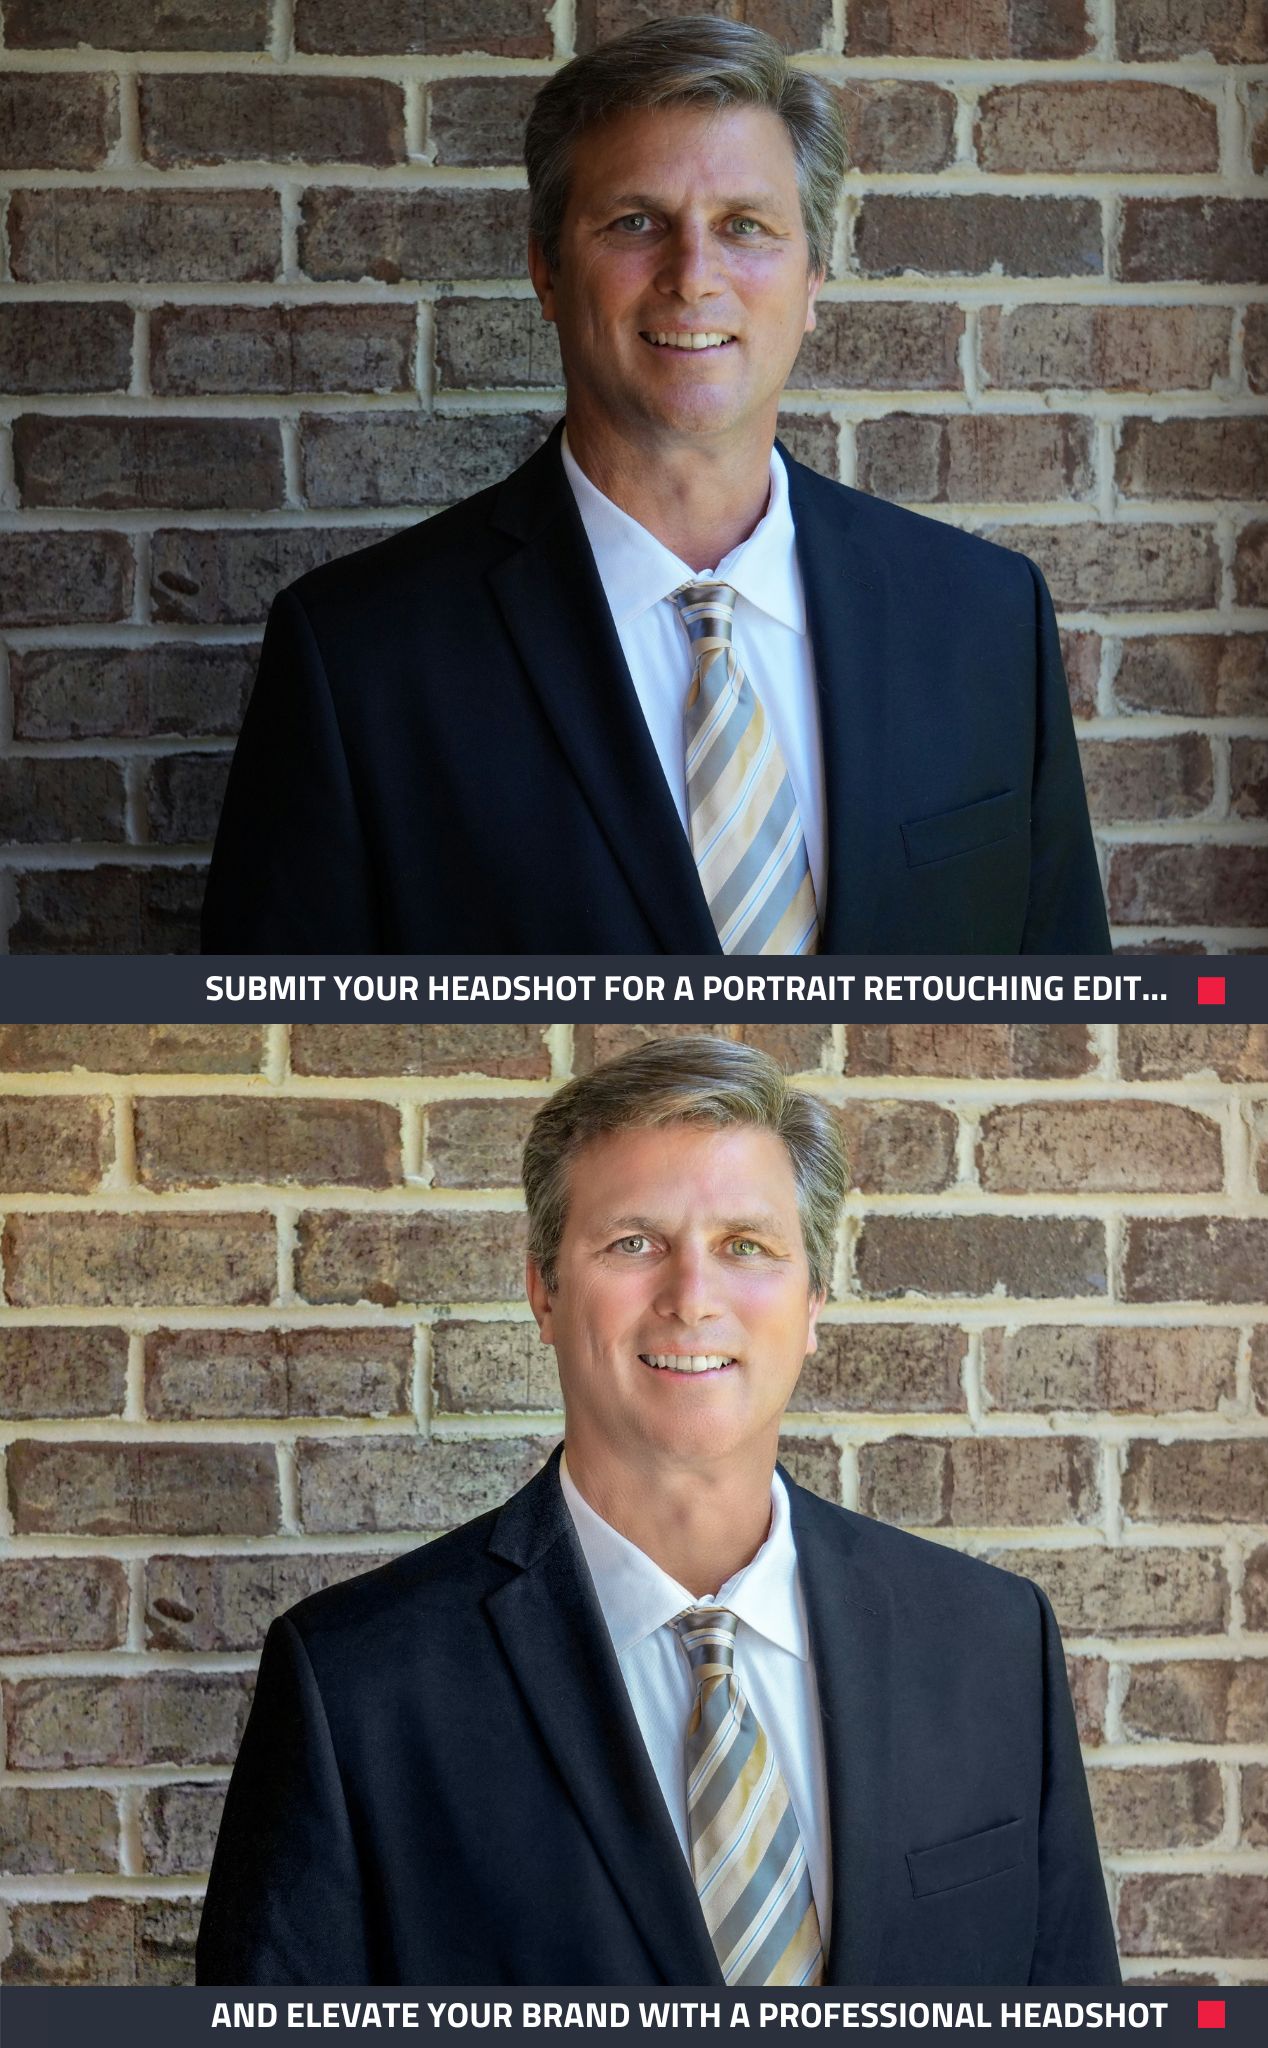
Submit your headshot to BoxBrownie.com: After you have selected the headshot you want to use, submit your photo for a Portrait Retouching edit.
Note what you would like enhanced: Our editors can work their magic. Avoid heavy filters or excessive retouching. Aim for a natural and authentic look.
By following these steps, you can capture a professional headshot that reflects your brand and professionalism. Remember to experiment, review, and refine your approach to achieve the desired results.
If you're ready to take your photos to the next level, sign up to BoxBrownie.com now and receive 4 edits for free. No credit card is needed.