THE BEST WAY TO SHOOT A PROPERTY AT DUSK SO IT SELLS FOR TOP DOLLAR
Introduction:
Shooting at dusk can initially be a daunting process, especially when you are running on a tight time frame to take all the photos required. In this blog, our co-founder Brad Filliponi will be walking through an entire shoot and giving step-by-step instructions on how to shoot a property at dusk.
The property featured on today’s blog is a stunning two-million-dollar home located in the Hinterland on the Sunshine Coast in Queensland.
The 6 most important points to take out of this video are:
1. Ensure the property is prepped
As the sun sets quickly, timing is key to getting all your shots taken. This means the better the property is prepared, the less work you will need to do on the day. To ensure you are ready to shoot, you can find our photography checklist here.
2. Remember to shoot quickly as the light is dropping
We suggest shooting all areas of the home that include the external view of the property first. This way you can ensure you haven’t missed taking those all-important external dusk images before the sun sets.
Once completed, you can then move onto the interior of the home as you can continue to shoot these after the sun has gone down.
3. It is ideal to shoot bracketed images
For those that haven’t worked with bracketed images before, this is where one shot is taken multiple times in different exposures. For more information on how to shoot bracketed images, you can find one of our past blogs here.
For experienced photographers, you understand the importance of shooting this way as the more information we have, the better editing output we can achieve. 4. When it becomes darker, shoot with fewer brackets
As the sun starts to set, you have to move fast. We suggest shooting with 2-3 brackets with great light gradient or flick to manual mode. This will ensure you can shoot more of the property in a smaller time frame.
Tip: It is a personal preference to have the flash on for external shots at this point, however, we recommend the flash be used on all internal shots.
5. Have your images professionally edited
Once you have completed your shoot, you can head to your dashboard at BoxBrownie.com and submit your images through our Image Enhancement section.
Tip: When submitting your job through our Image Enhancement section, ensure you scroll down and select ‘Image Enhancement: HDR Bracketed Images’. That way we can ensure your photos are blended into one high-quality professional image.
6. Shooting from the rear of the property is often the hero shot
These stunning shots often become the hero shot with the spectacular sunset behind the home, so we recommend shooting this side of the property first.
Tip: It is ideal to shoot at eye level so potential buyers have a great understanding of the property which can easily continue when they inspect the property in person.
Conclusion:
We hope you find our video valuable and if you have feedback, questions or suggestions on what you would like more information about, please contact us.
RELATED ARTICLES

It can be difficult to keep up to speed with the speed of technology. Perhaps nowhere is this more evident than in the realm of real estate photography. In this article, we examined the top four Google search returns for the query “how to take a real estate photo”, and found, in each case, that the results Google came up with were well past their use-by date.
READ MORE
This blog is for all the real estate pros who like to shoot their own listing photos! Here are 10 easy tips that you need to be doing to take attention-grabbing property photos. Get ready to transform your listings and captivate potential buyers or renters!
READ MORE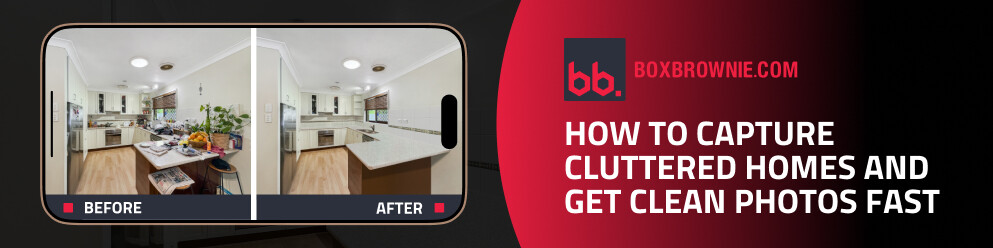
In our latest video, cofounder Brad Filliponi shows how messy rooms won’t hold up your listing. With SnapSnapSnap, shoot once and get polished, buyer-ready photos in just 24 hours.
READ MORE
This 10-step guide will help you in selecting the best shot to represent your listing so that you can capture hearts and close deals fast with a standout hero image.
READ MORE
Taking professional photographs for virtual staging requires a different mindset than photographing furnished spaces. But it’s really not that big of a deal. If you’re new to the task of photographing empty rooms for the purpose of virtual staging, this post has some valuable pointers.
READ MORE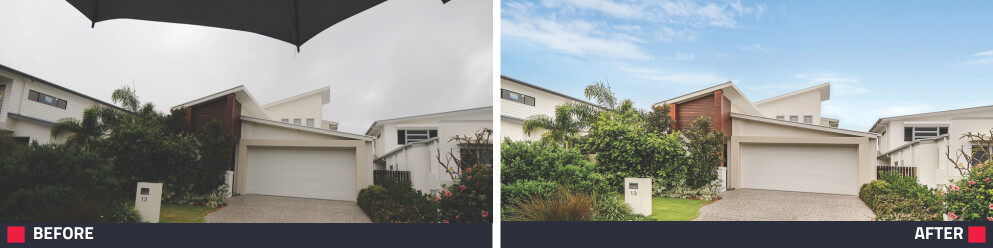
Don’t let a little precipitation stop your shoot! Rainy days don’t have to mean gloomy photos. Whether you’re racing the clock or stuck under stormy skies, we’ve got the pro tips and editing tricks to make your property pics shine—no matter the forecast.
READ MORE