THINGS TO CHECK WHEN MEASURING FLOOR PLANS
It takes professionals years to perfect the art of making accurate floor-plans from established buildings. To make your life easier we have come up with a list of things to double check while you’re onsite drawing a floor plan.
Drawing the floor plan accurately the first time will ensure you get the result you want and
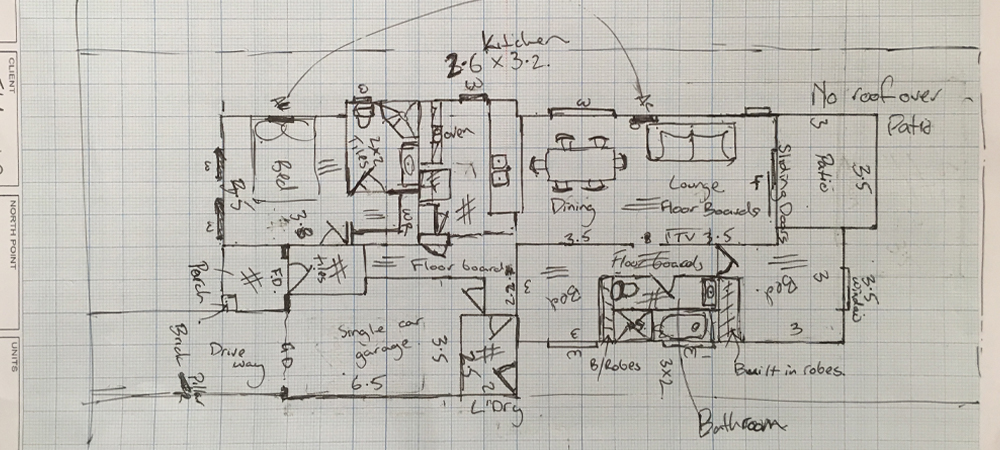
- Check that all your rooms on the plan have measurements and windows drawn in.
- Make sure you indicate which way the doors swing.
- Include as many measurements as you can, providing as much information as possible will ensure our team gets the plan correct the first time.
- Always include the patio and pool areas, these are important items to include in the plan.
- Ensure you use straight lines and not wobbly ones – Wobbly lines could be misinterpreted as a curved line. Tip: Short rulers are best to use.
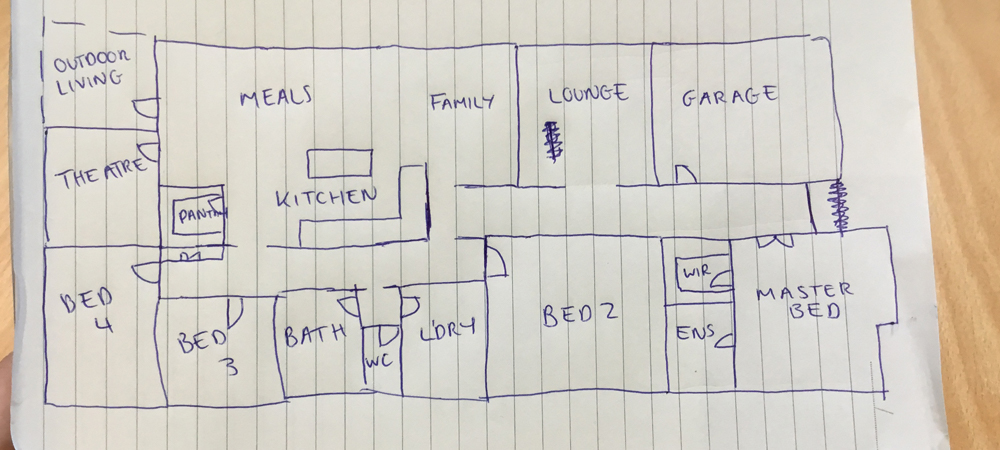
- Clearly label open-plan areas, such as combined kitchen, dining areas. Make sure you write on the plan the areas. Using graph paper is best when doing this as it makes the plan clear and easy to read.
- Ensure you include the address on the plan to avoid any confusion later if you are measuring a few properties that day.
Onsite Check List
It can be easy to forget things when you are on-site, particularity if you are on a tight schedule. Here is a quick checklist of things to go over before you leave the property:
1 - Is the plan fully legible?
Someone who has never seen the property needs to be able to understand the measurements and drawing. If you’re unsure if your sketch is clear, possibly show it to someone else to double check.

2 - Do all doors have the correct hinge swing and door type?
It is important to indicate the direction the door swings and if it is a sliding or double door. Use a semi-circle symbol to indicate the direction, also make sure you have clearly marked sliding doors, and double doors.
3 - Are the windows marked in each room?
Clearly, indicate the windows in each room, try to be accurate with the size of the window in comparison to the wall it sits on.
4 - Is every room labeled correctly?
Double check you have labeled all spaces and rooms. This included walk-in cupboards, cloakrooms, and open plan living areas.

5 - Are all house fixtures and fittings included?
Fittings are an essential part of any home, so you need to ensure you have included sinks, baths, showers
6 – Do you have a minimum of 2-4 measurements for each room?
The more the merrier when it comes to measurements. Include as many measurements as possible, the more information we have the better the editor will be able to replicate your plans.
7 - Have you included the extra notes with your plan?
Include any additional information you may have. Remember our editors will not have seen the property or necessarily know where is it located.
8 - Is the scan or photo document of the sketch good enough?
Double check the image or document you have sent us is fully legible. We need the clearest plans possible to work from.
9 - Have you taken a compass reading?
When on-site always mark the north direction. This is an important element on any floor plan and will help us place it correctly on the page.
10 - Have you take smartphone images of tricky areas?
It is always great for our editors to see actual images of unusual spaces or areas. Photos are great for areas like kitchens, and bathrooms. Even if the house is standard, attaching images can greatly assist in creating an accurate plan for you.
Creating your own floor plan can save you hundreds of dollars. Once you have set out all the details of your plan, just upload them to our floor plan edit tab and choose the kind of floor plan you want.
If you want more details on measuring floor plans
Keep an eye out for future posts on handy tips for getting your floor plans looking professional.