PROPERTY PHOTOGRAPHY TIPS: 7 EASY WAYS TO MAKE A SPACE LOOK BIGGER
When it comes to real estate photography, making a space look bigger can be a game-changer in attracting potential buyers or renters. A well-captured image not only highlights the property's best features but also creates an inviting atmosphere that speaks volumes.
In this blog, we’ll share seven straightforward tips to help you transform any room into a visually spacious haven. Whether you're using a smartphone or a professional camera, these easy-to-follow techniques will ensure your photos make a lasting impression.
Ready to amplify your space? Let’s dive in!
1. Open All Doors
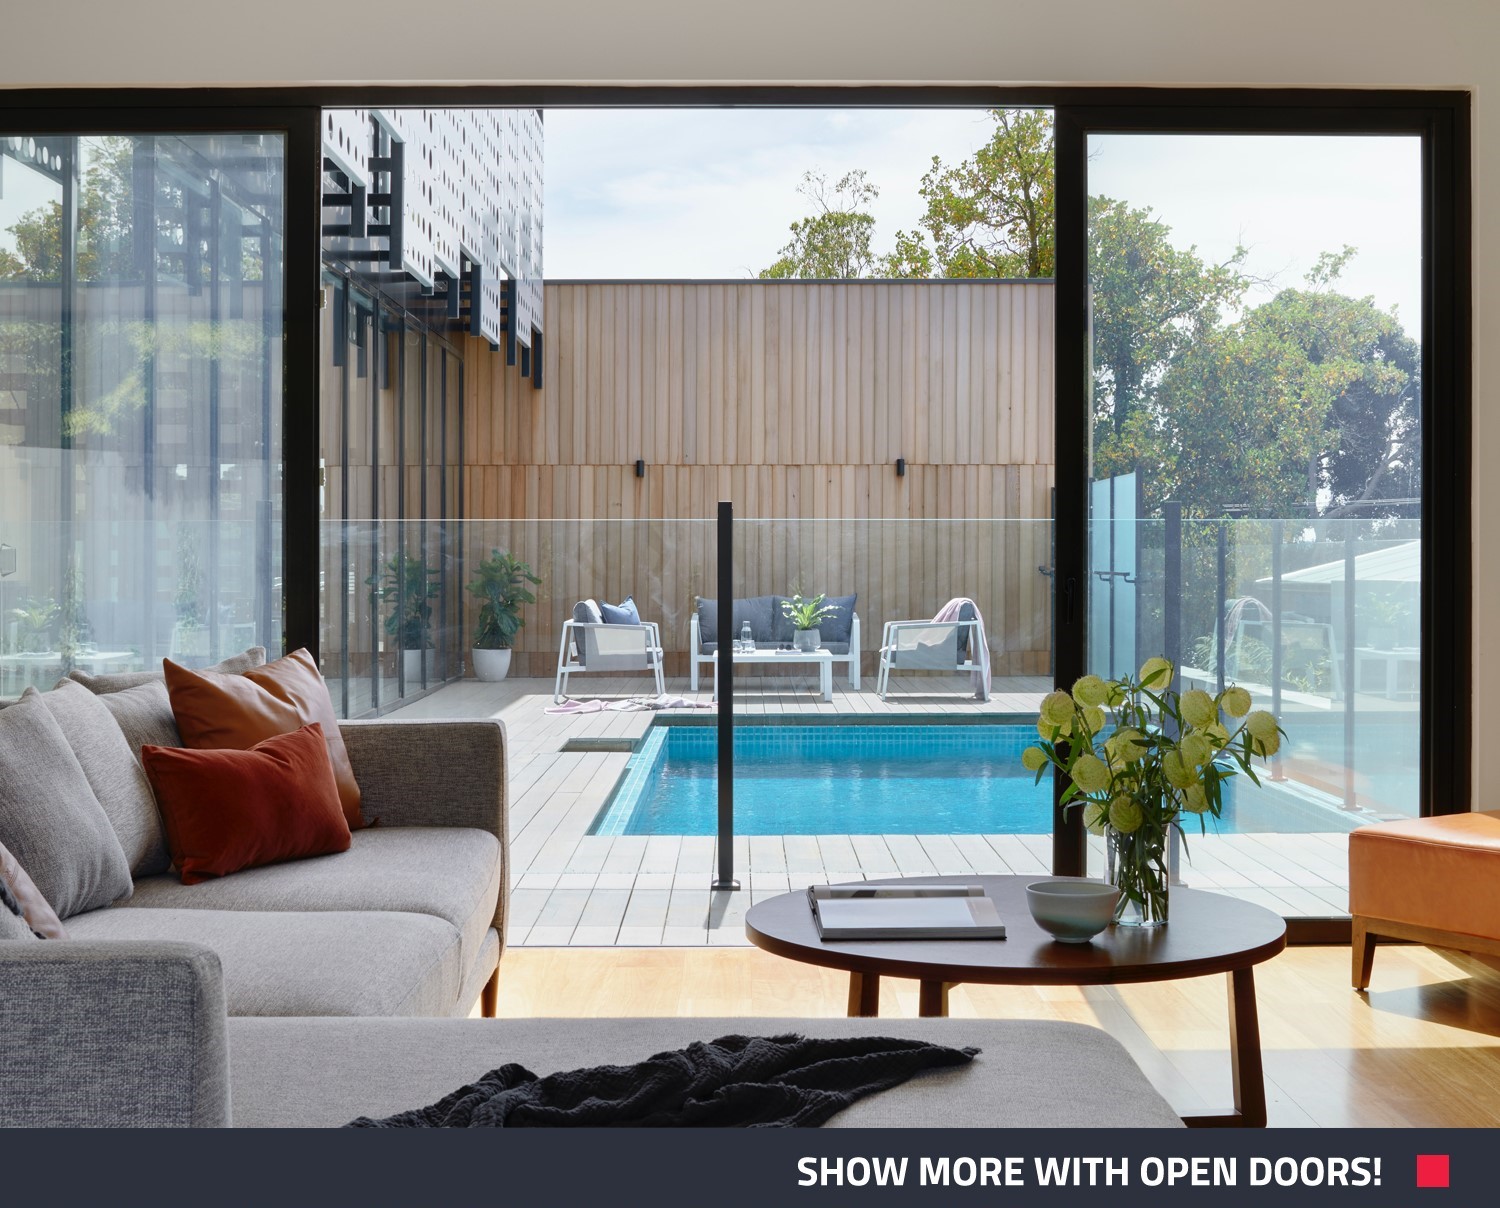
One of the simplest ways to make a space appear larger is to open all doors when taking photographs. This technique not only allows for a clearer view of adjacent rooms but also creates a sense of flow and connectivity between spaces. It helps eliminate barriers and visually expands the area, making the property feel more spacious and accessible.
2. Use a Wide-Angle Lens
Utilize a wide-angle lens to capture a broader field of view. This will allow you to fit more of the room into the frame, giving the impression of spaciousness. However, be cautious not to distort the perspective excessively, as this can create an unrealistic representation of the property.
Tip: Any late-model iPhone has a wide-angle lens. Pair it with our app, SnapSnapSnap, and your property photography will be unstoppable! Our app’s automatic HDR bracketing, combined with our US$1.60 Image Enhancement edit, ensures perfectly exposed images every time.
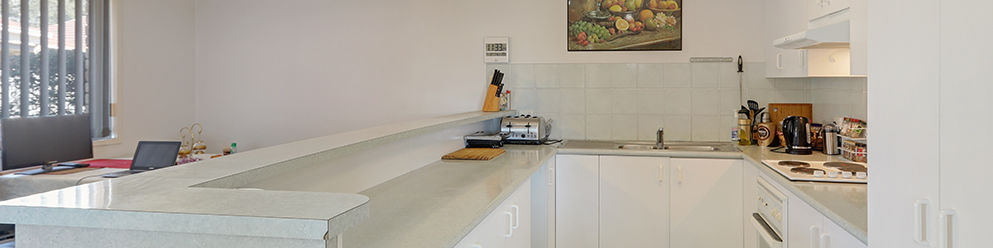
3. Optimize Lighting
Proper lighting is essential in making a space feel larger, therefore natural light is your best friend! Open curtains or blinds to let in as much natural light as possible. Turn all the lights on to strategically fill any dark corners or areas. A well-lit space tends to appear more expansive and welcoming.
Tip: To make your photos even more inviting, use our essential Image Enhancement service to brighten up your images and maximize the impact of natural and artificial light.
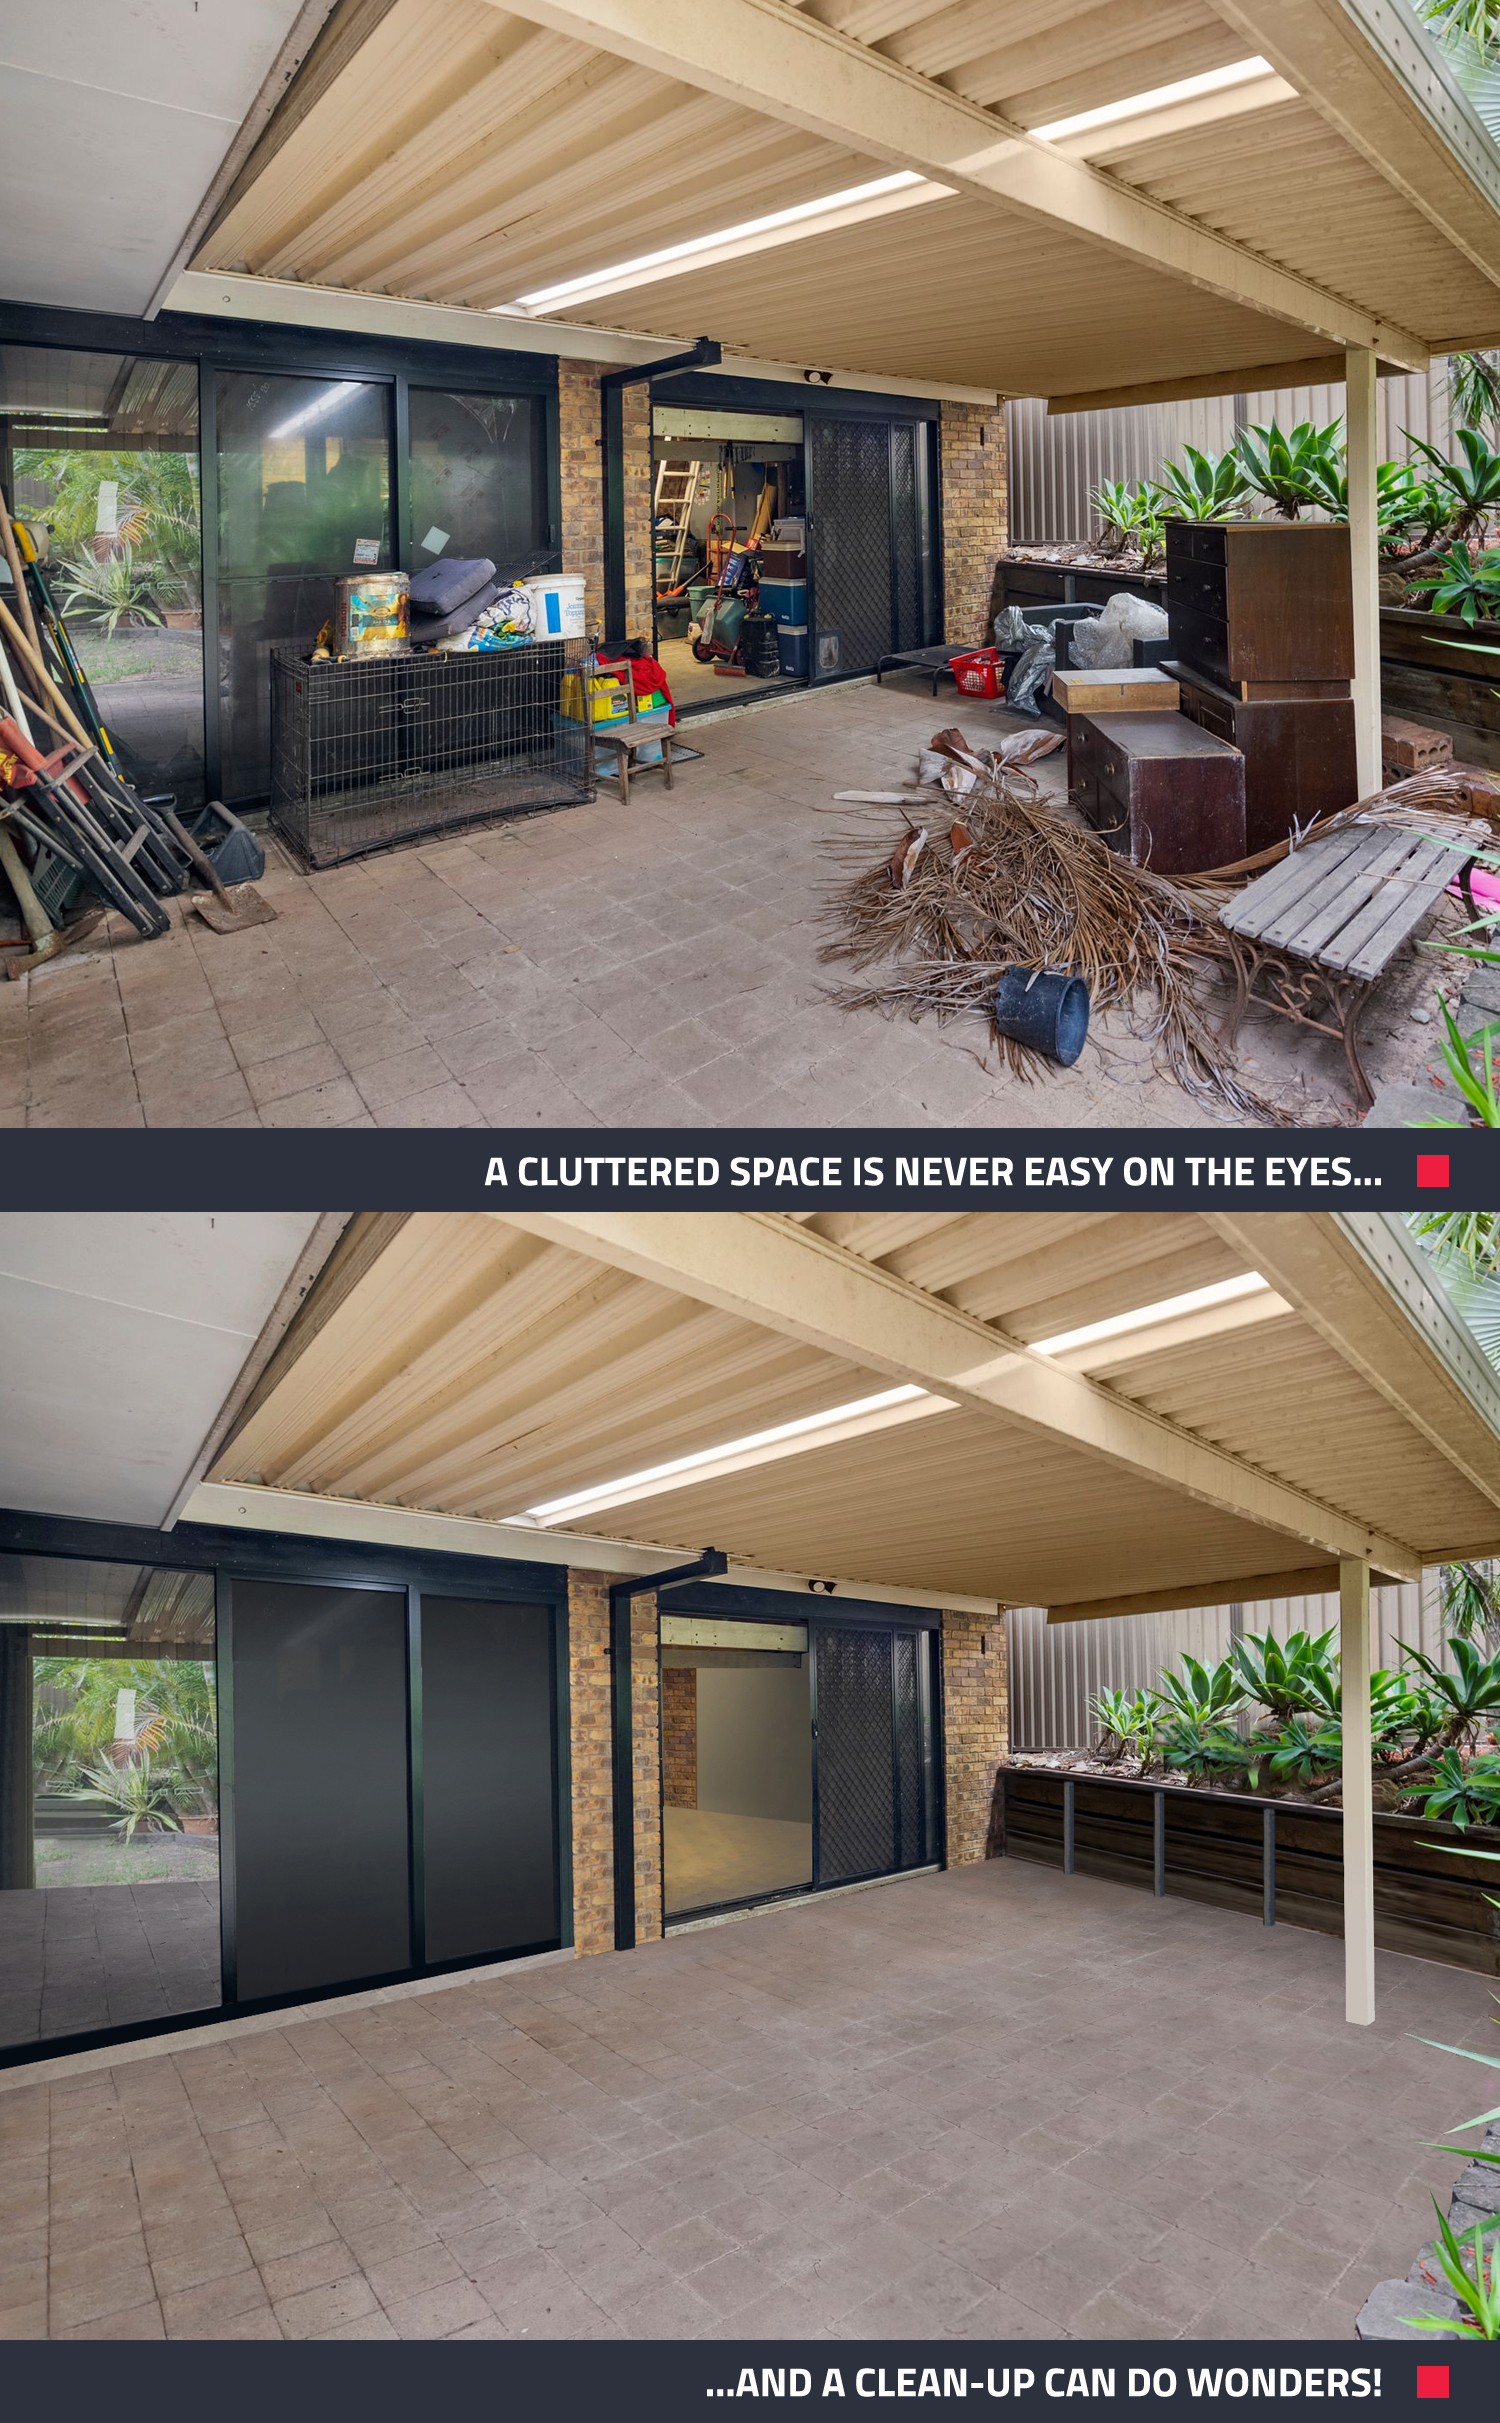
4. Declutter and Simplify
A cluttered space can make a property feel cramped and smaller. Before capturing photographs, ensure that the area is tidy and free from unnecessary items. Remove personal belongings and excess furniture to create an uncluttered and spacious atmosphere. This will allow potential buyers to visualize the potential of the space.
Tip: If you are short on time or unable to clear a space, use our Item Removal & Virtual Clean Service
5. Choose the Right Angles
Experiment with different angles to find the ones that best highlight the space. Photographing from corners or doorways can create depth and make the room appear more expansive. Capture shots that showcase the flow and layout of the property, emphasizing its openness and versatility.
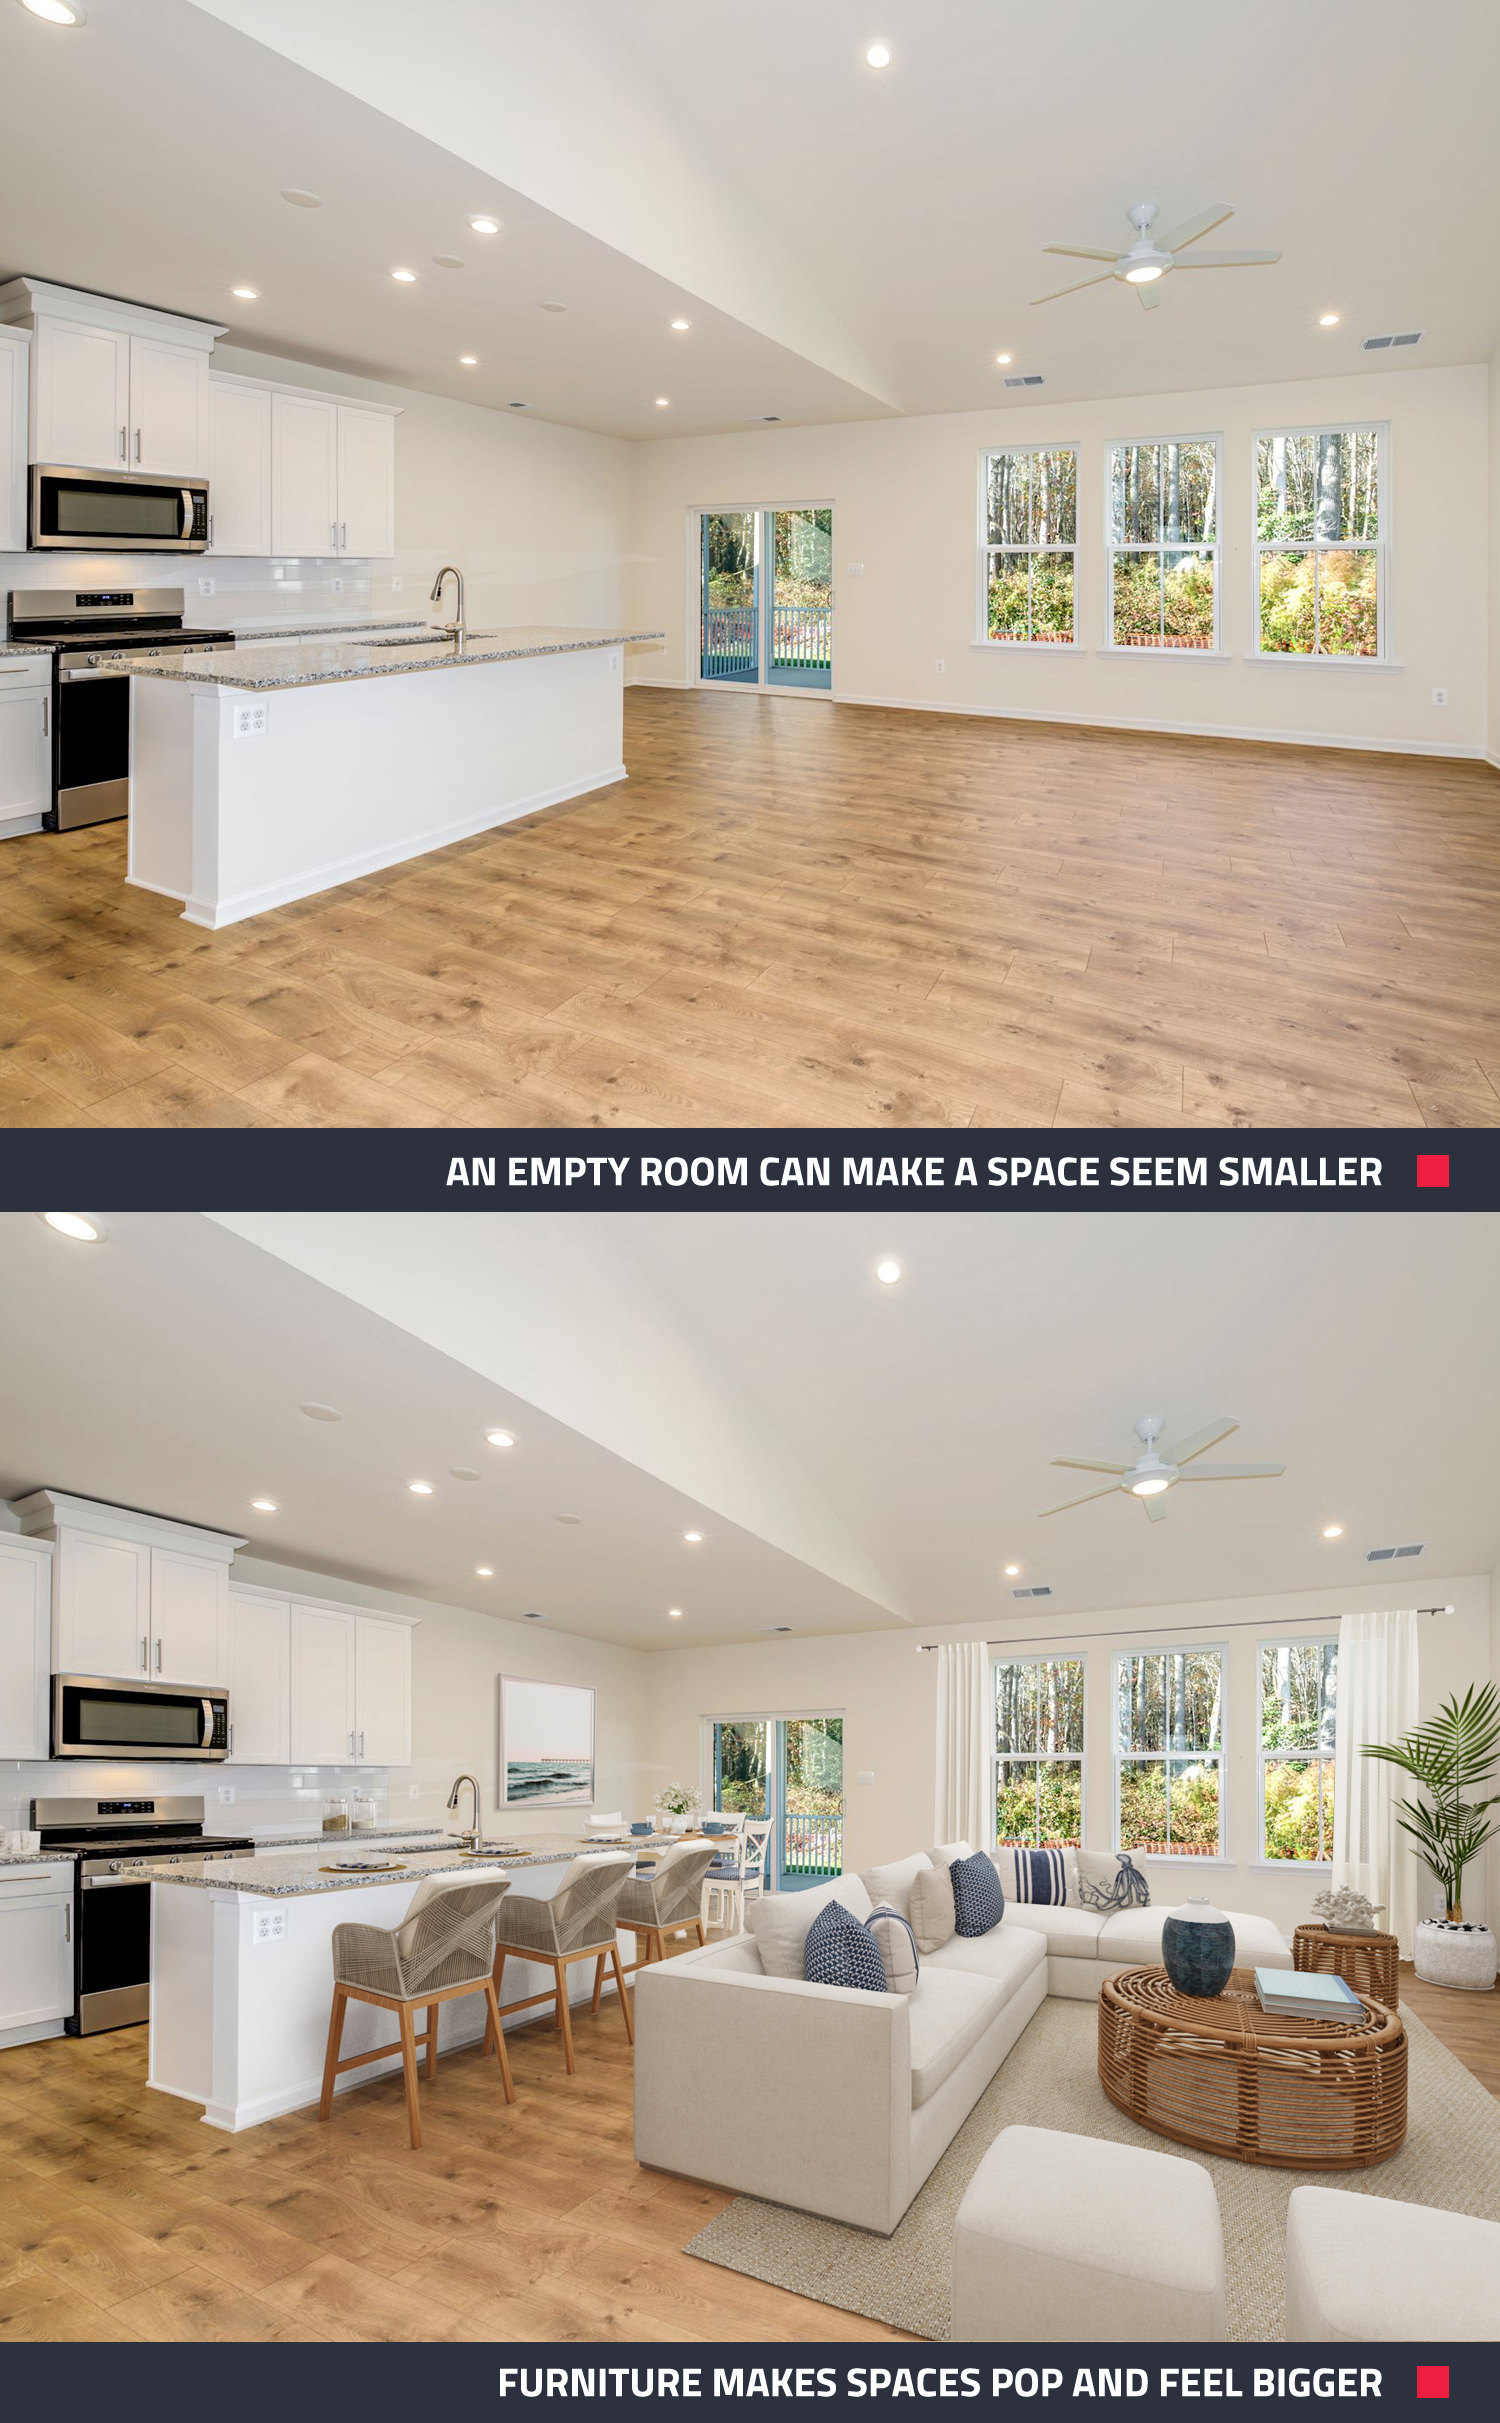
6. Staging and Furniture Placement
Ever moved house and been surprised by how much smaller the space feels without your belongings? Furniture adds perspective, making spaces seem larger and more functional. An empty room can appear smaller due to the lack of context and scale, which makes it harder to judge its true size. Strategic staging and careful furniture placement can improve the perception of space in photographs. Use appropriately sized furniture to avoid overcrowding, and place pieces away from walls to create depth and openness. Adding decor further enhances proportion, making the space feel inviting and spacious.
Tip: Virtual Staging is a convenient solution for vacant properties when you lack the time or budget for physical staging
7. Highlight Outdoor Space
If the property has outdoor areas, such as a balcony or garden, include them in your photographs. Outdoor spaces provide an extension of living space and contribute to the overall perception of size. Capture images that showcase the outdoor area as an inviting and usable space.
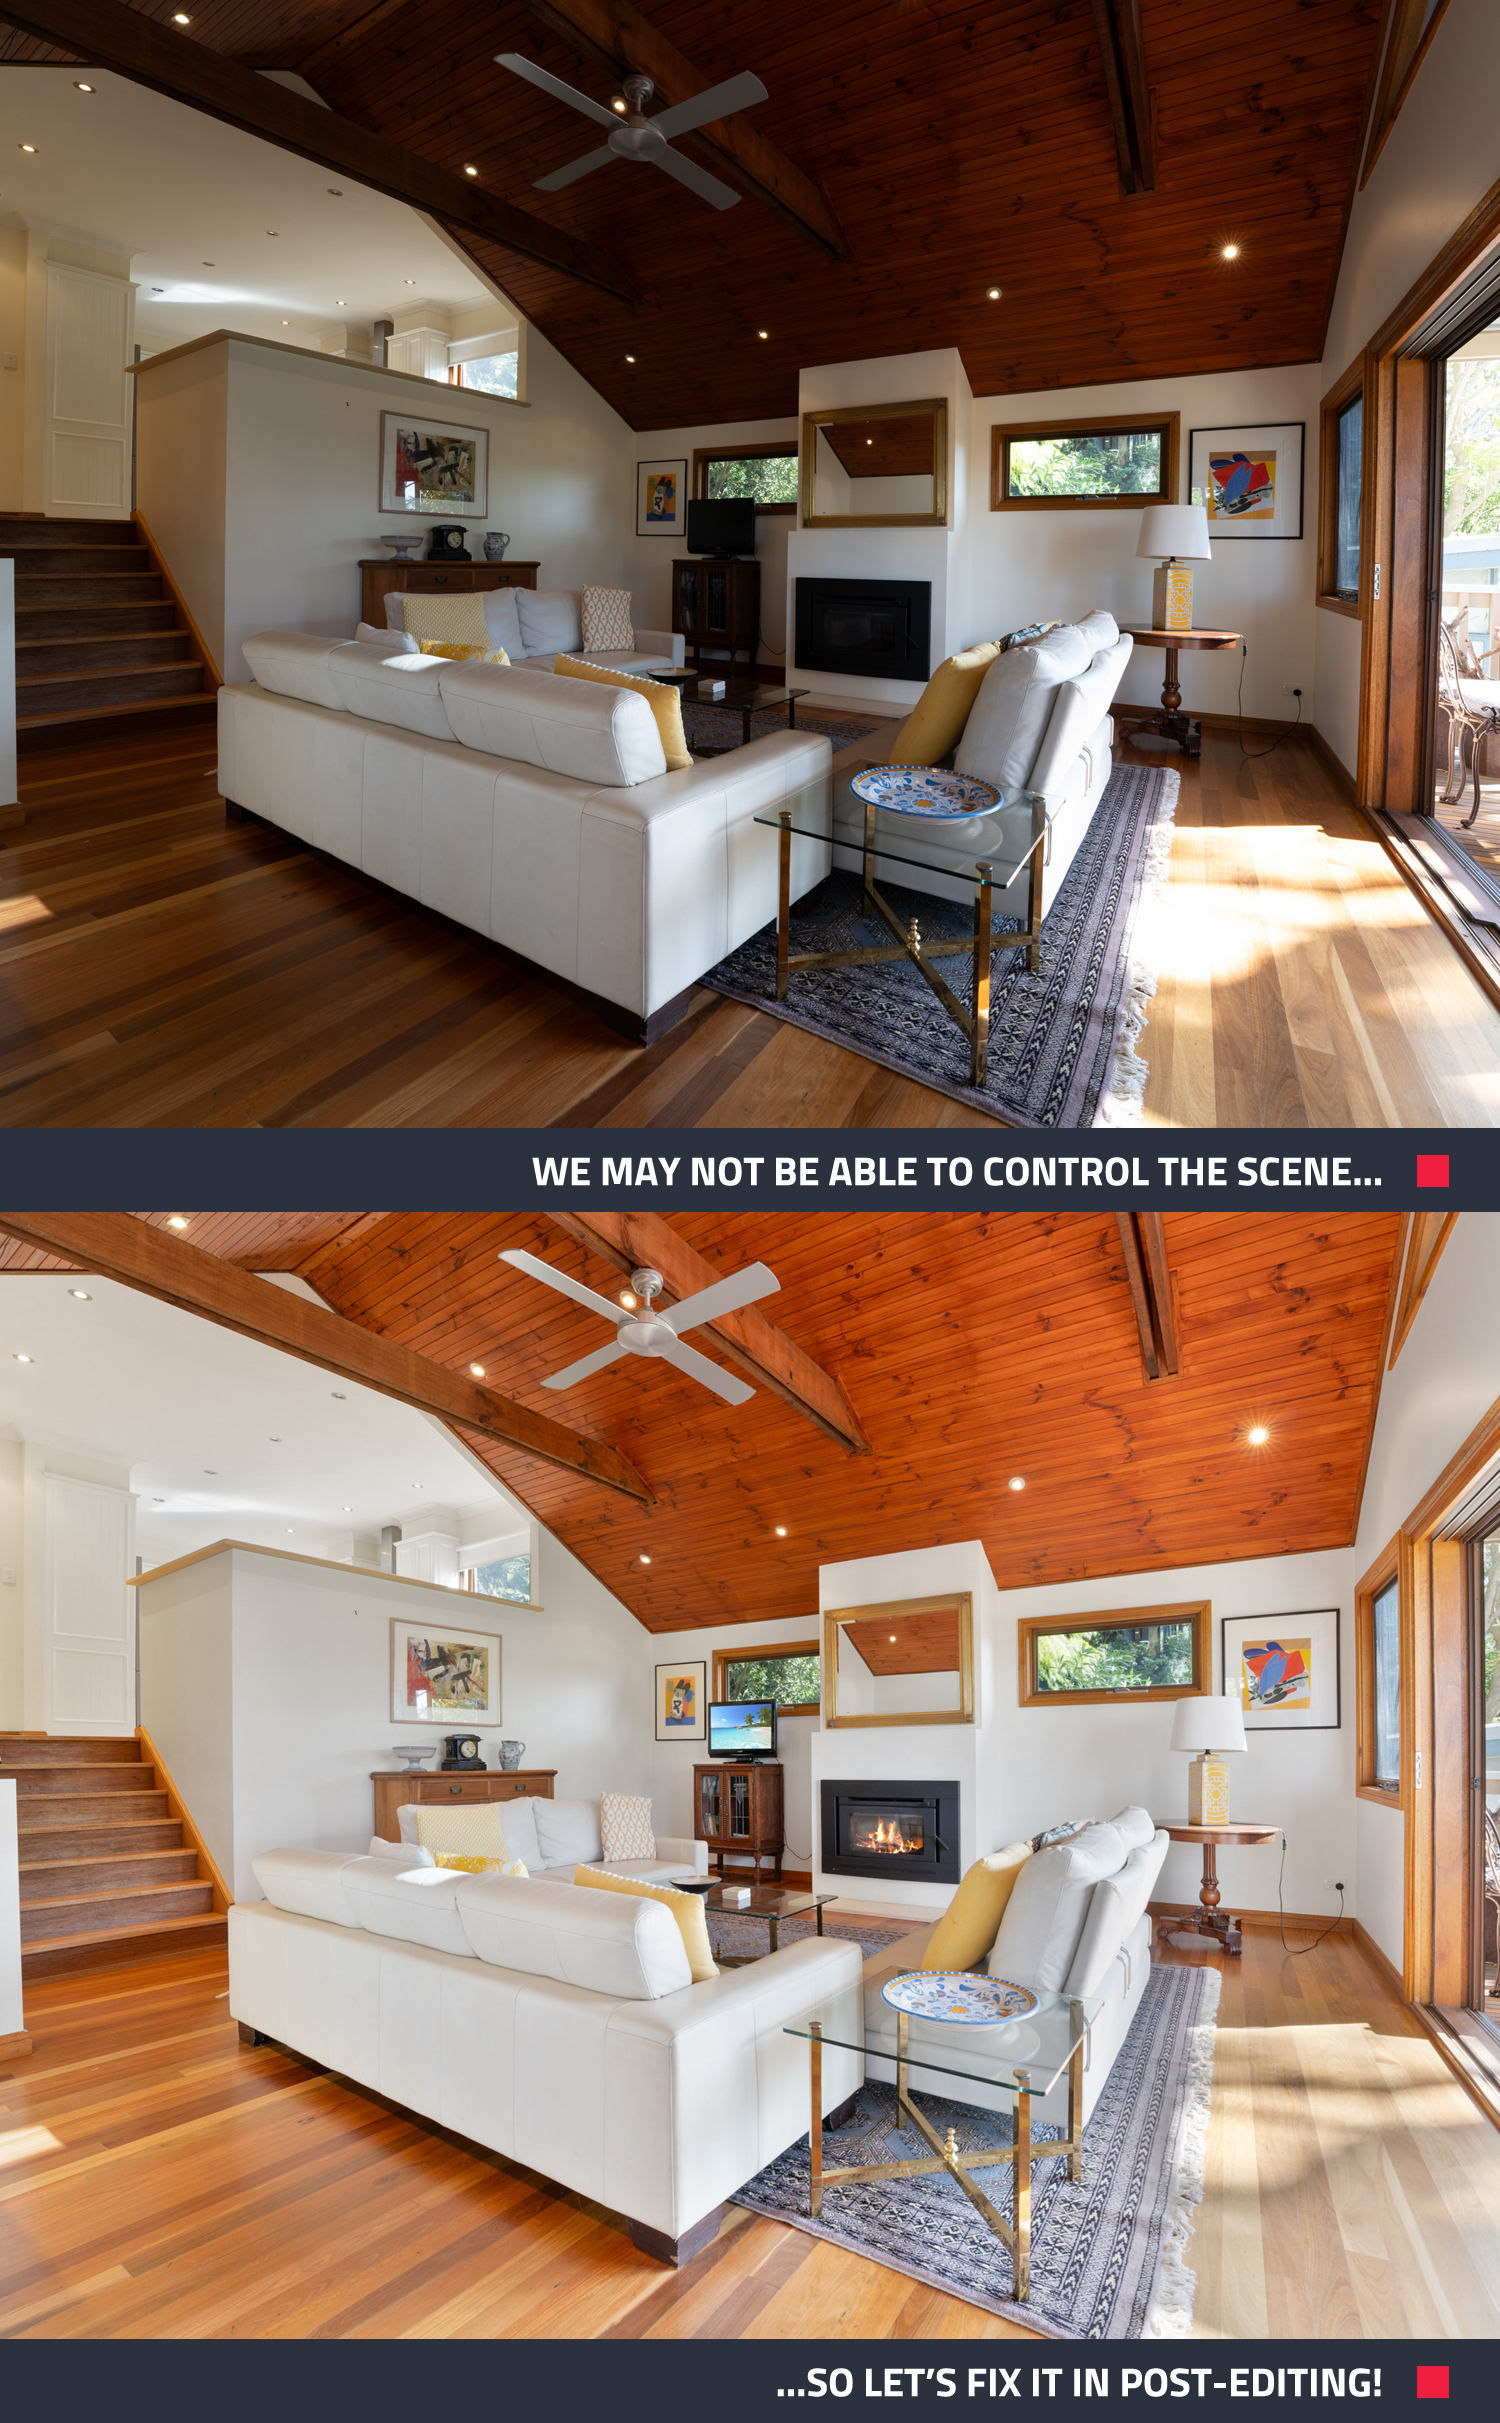
8. Post-Processing Enhancements
Professional photo enhancement is a must in real estate photography! During post-processing, there are subtle adjustments that you can make to enhance the perceived size of the property. Straighten vertical lines to create a sense of balance and eliminate distortion. Adjust brightness, contrast, and saturation to optimize the visual appeal of the space without overdoing it.
Tip: All this and more can be achieved with our Image Enhancement service, and it starts at just US$1.60 per photo!
Amplify Your Space: Master These Photography Tips for a Bigger Impact
By using these photography tips, you can make any property look bigger and more inviting. From wide-angle lenses to clever staging, each technique helps create a sense of spaciousness.
Are you ready to enhance your property photos? Sign up to BoxBrownie.com and get 4 FREE edits to make your properties stand out!
RELATED ARTICLES
In this video, Brad covers all the key tips to take your marketing to the next level. Giving you the key tips to present your listing and get you and your client the best result.
READ MORE
Capturing those all important shots for your listing can not only be a timely expense but can quickly become quite expensive. Our Founder Brad Filliponi is going to share with you his simple top 10 expert tips to show you how you can achieve those professional images for your property.
READ MORE
Sales inquiries are the lifeblood of a successful real estate career. Nothing generates them like exceptional marketing. These 8 tips will ensure that your listings stand out from the crowd and that buyers keep your phone a-ringing!
READ MORE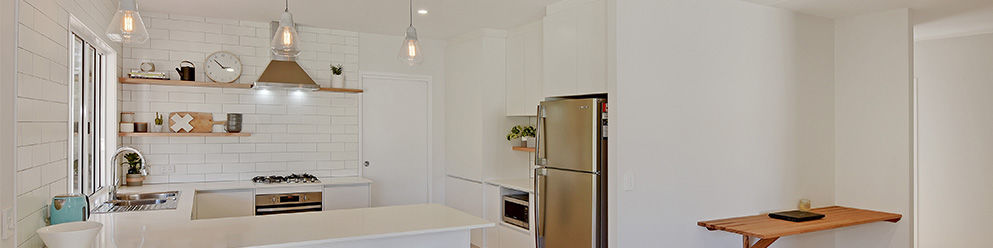
Market your property by standing out from the crowd with an engaging hero shot. Learn the tips to look out for when selecting the right image for your listing.
READ MORE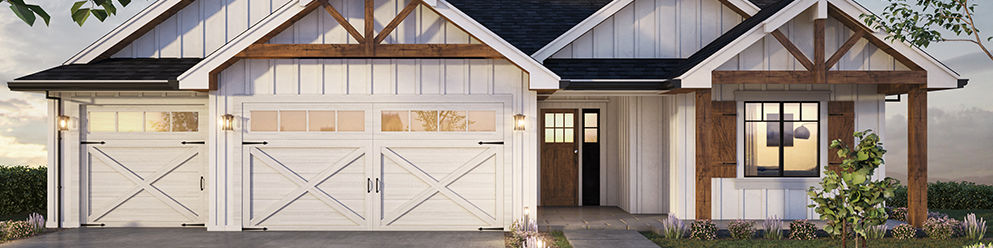
How are 3D Renders used to successfully pre-sell property for builders. Follow this example to see how External, and 360° Internal Renders were used to outsell similar listings in terms of speed, views and a much higher price.
READ MORE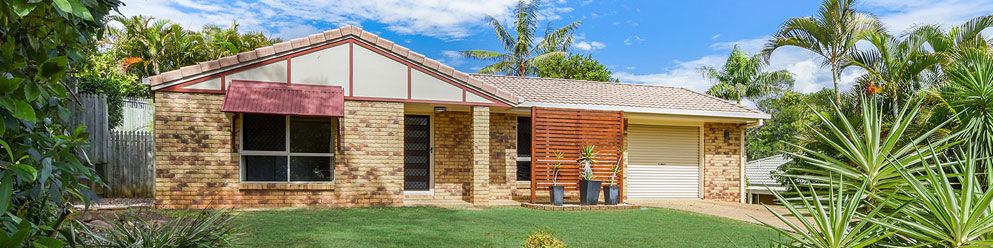
Want to learn how to shoot real estate like a pro? What about learning how to shoot a property in under 7 minutes? In this article, world class real estate photographer Brad Filliponi shares some of his tips on how to help shoot and sell property faster!
READ MORE