SHOOTING REAL ESTATE: OPEN OR CLOSED DOORS?
For many real estate photographers, it’s a burning question: to open the doors or not to open the doors? Some may think it’s a futile conundrum, but whether or not you open the doors in a home can actually make all the difference in the outcome of the photos.
The Short Answer...
Yes, you should open the doors.
Of course, there are exceptions to every rule. Doors that hide clutter, personal belongings, or toilets are best kept closed, but otherwise, the simple act of opening a door can enhance the look and feel of a photo in a huge way.
Keep reading to find out why you should open those doors nice and wide at your next photo shoot.
Give a Sense of the Layout
Real estate photography should always aim to showcase the home to its full potential, but it can also provide useful context for potential buyers. Shooting a property with open doors can give the viewer a sense of how the rooms connect with each other. Closing them cuts off the important stuff.

Create an Open and Spacious Feel
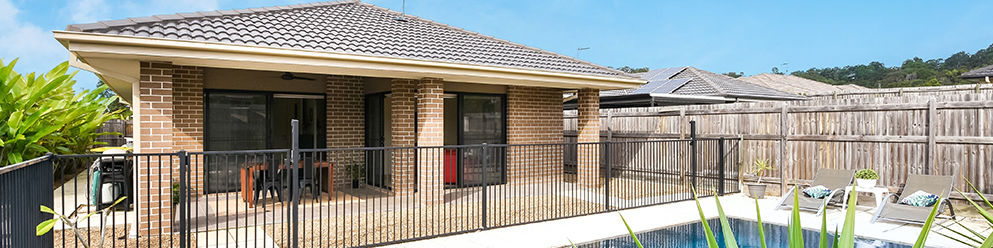
Take any room from feeling closed off and stagnant to spacious and enticing by simply opening the doors. Doors to outdoor entertainment areas and backyards should be opened to add depth and give the impression of that desirable indoor-outdoor living flow.

Make it Warm and Inviting
In both real life and real estate photography, an open door is essentially an invitation to look further. Opening doors works wonders to extend a warm welcome, particularly for external shots of the home where you can see the front door. With the front door wide open, viewers can envision themselves entering the home after a day at work.
Level Up Your Photos
Opening doors is a simple action that is sometimes so easily overlooked while on a busy photo shoot, but it can make a lasting impression on potential buyers. It’s one of the first steps you can take to make your images go from run-of-the-mill to unforgettable.
For more tips on taking your own listing photos, learn how to shoot a property for under $20 and the 9 items that are hurting your listing.
New to BoxBrownie.com? Sign up now and receive 4 edits free. No credit card is needed.
RELATED ARTICLES
As an expert in real estate photography, Brad Filliponi is going to share his key tips for preparing and shooting a property from start to finish.
READ MORE
Want to see SnapSnapSnap in action? Watch our latest video to discover how easy it is to capture professional-quality property photos with just your iPhone. See how it works and start creating standout images that will give you an edge!
READ MORE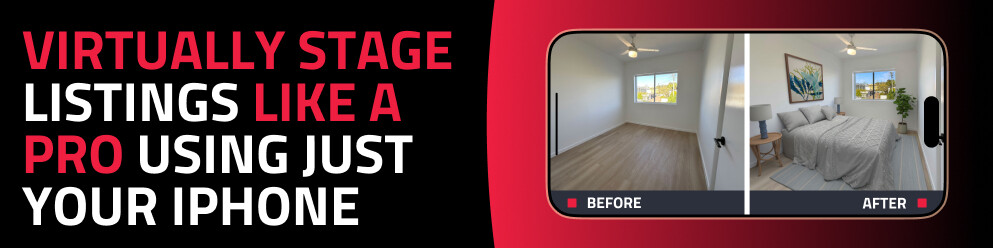
Discover how to virtually stage any property using just your phone with the SnapSnapSnap app. Capture, enhance, and transform empty rooms into beautifully styled spaces in minutes — no expensive equipment or experience required.
READ MORE
Want more Airbnb bookings without breaking the bank? Our latest video reveals how to capture stunning listing photos using just your phone and create professional floor plans. With expert tips from Brad, marketing your Airbnb is now easier than ever.
READ MORE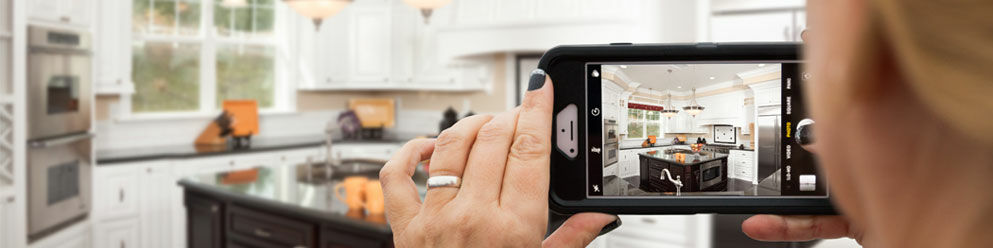
In real estate marketing image truly is everything. These nine photography tips will help your listings pop from the page and stop property shoppers in their tracks.
READ MORE
Not every vacant room needs virtual staging. Discover how many listing photos to stage based on property size and type, from studio condos to luxury estates, so you can maximize impact without overspending.
READ MORE