HOW TO SHOOT AERIAL REAL ESTATE PHOTOGRAPHY WITH A DRONE
Introduction To Real Estate Drone Photography
Getting those high-quality aerial shots of your property can be a crucial factor when it comes to selling your listing to prospective buyers. However, real estate aerial photography can be daunting at a glance, especially if you’ve never flown a drone before! In this article, our founder, Brad Filliponi, is going to show you how easy it can be. You will learn the key tips on how to operate a drone and obtain professional images using aerial photography.

Shooting With Your Drone
In this tutorial, we are using the DJI Phantom 4 professional drone to demonstrate the power of aerial shots. When taking off, always be cautious of power lines and trees as these hazards can be disastrous if you accidently fly your drone into them. When taking the shot, try to remove yourself from the photo so you don’t have to do it later in post. You can always hide underneath some tree foliage to achieve this. Keep your settings in auto, that way you can capture your images without having the hassle of changing settings
Note: Don’t worry too much about the weather as this can be edited using the image enhancement service.
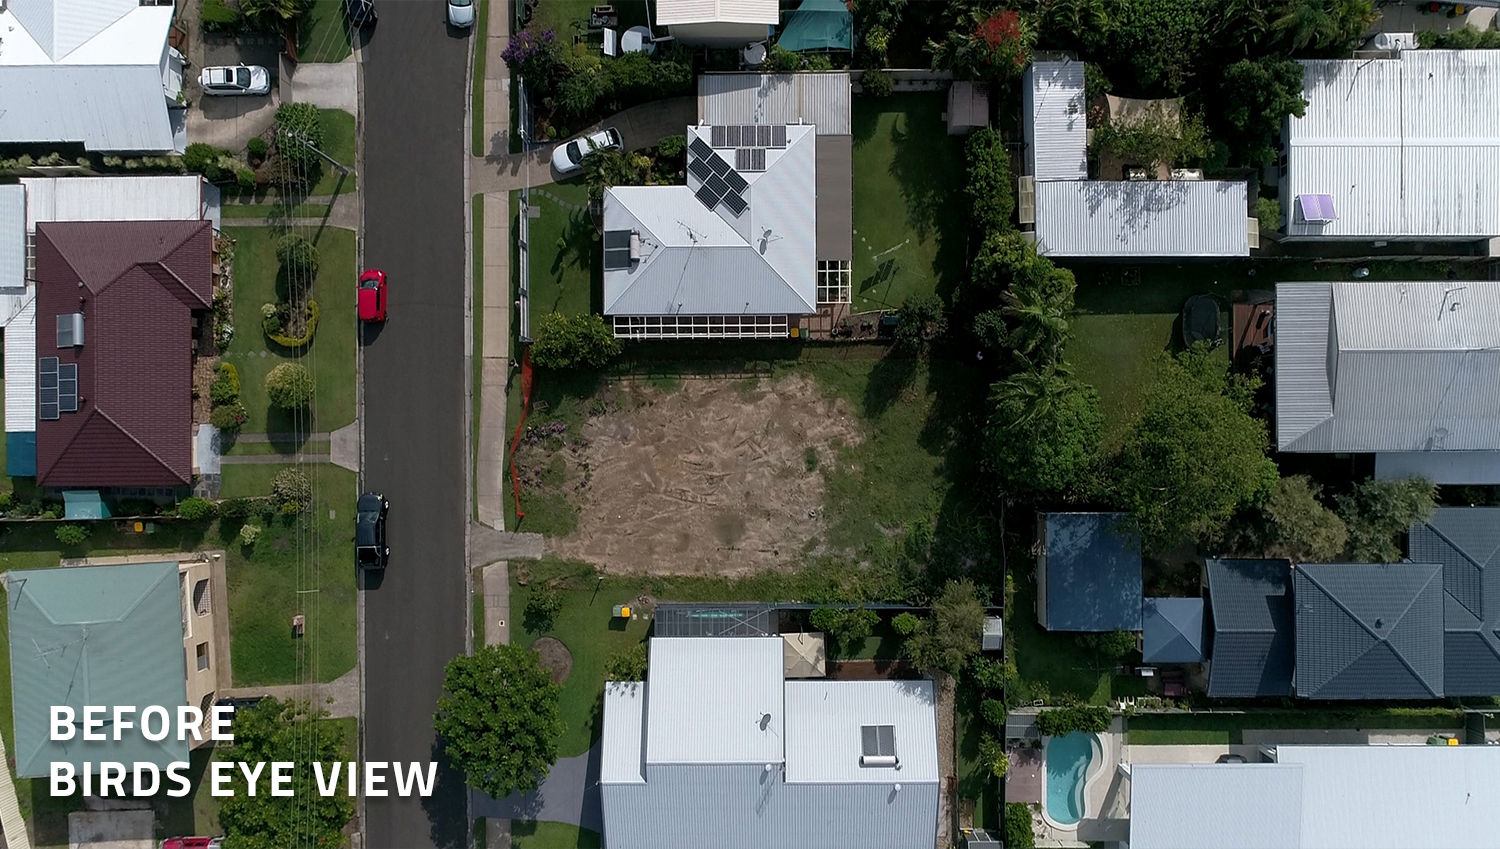
Shooting The Birds Eye View
To create the bird's eye view, hover your drone directly above the desired area. Don’t worry about surrounding items, these can be removed by using our item removal service (as shown later in this tutorial).
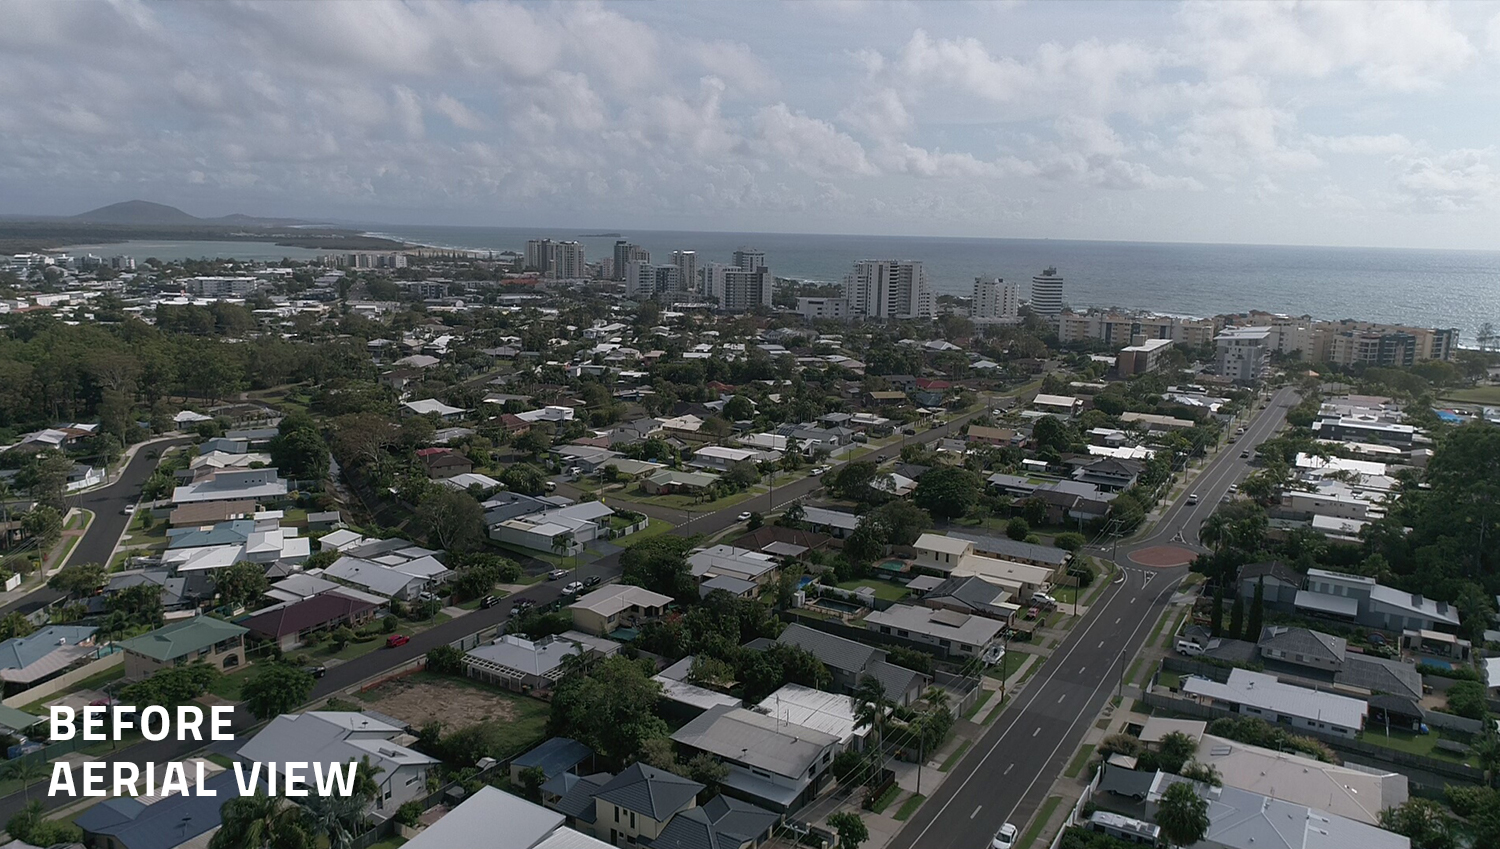
Shooting The Aerial View
Don’t forget to take an aerial shot so you can easily identify schools, airports etc. that often aren’t visible. In this example, the property is so close to the ocean and a major shopping
Editing Your Drone Images
Create duplicate images of your original drone photos and use a program like paint to draw on edits and mark item removals required. Include measurements and outline the area on your bird's eye view. This will make it stand out in the image.
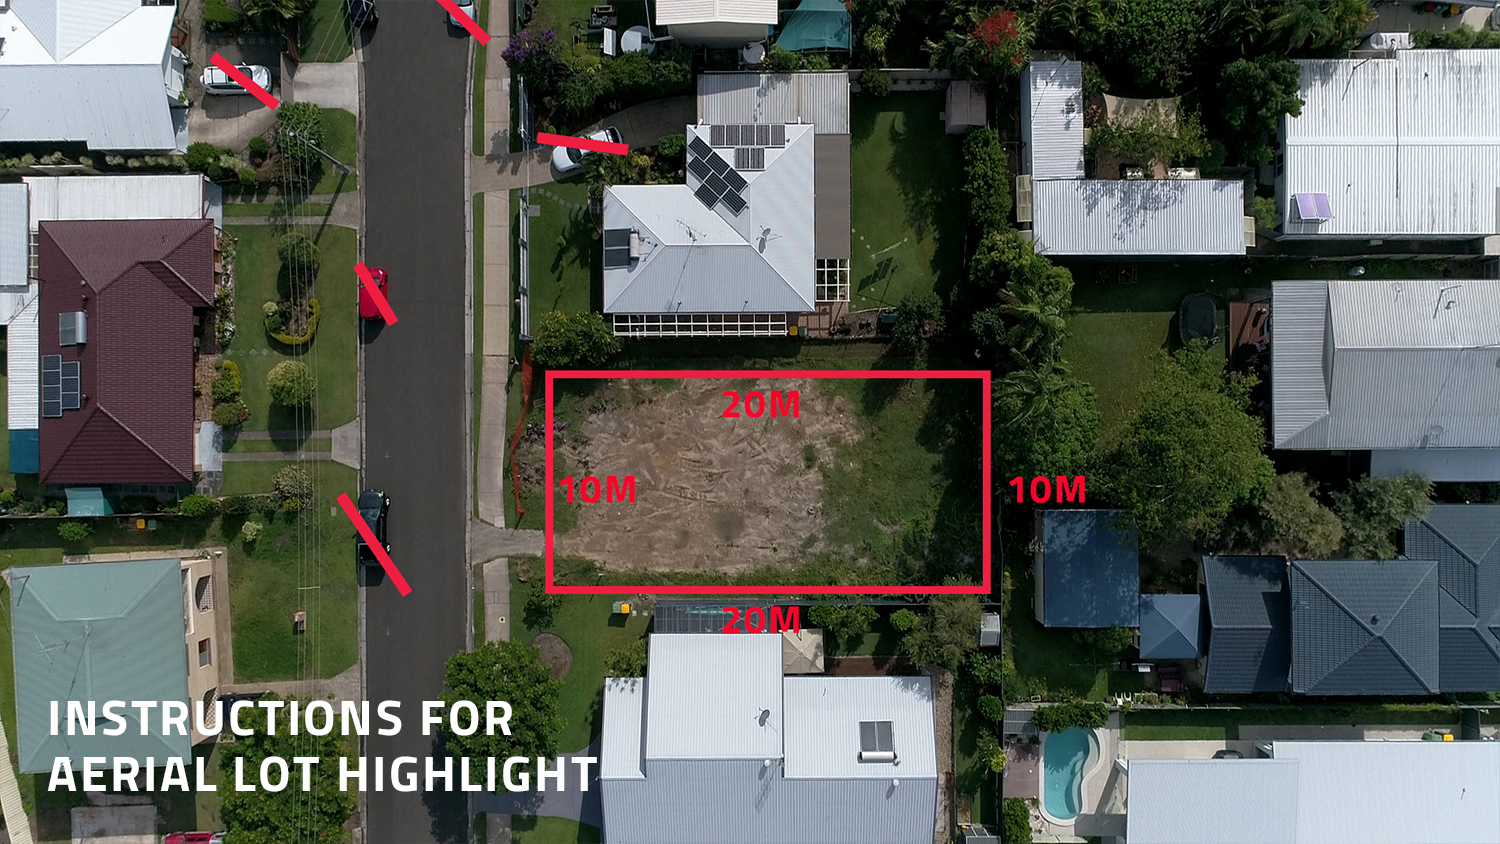
For your aerial shot, make sure you note the nearby attractions so we know exactly you require the drop pins.

By providing these duplicate images, it gives our editors a clear understanding of what edits you require to your job. Now you are ready to jump over to our BoxBrownie and submit your images to be edited.
Lodging Your Job
Once you have logged into your account, click on “Aerial Editing” and follow the instructions below.
- Give your job a title for easy reference.
- When uploading images, include your originals along with the duplicate images you have made edits on.
- Click the link underneath your uploads to group your original and duplicate images.
- Select the
birds eye images and group them and apply the same to the aerial images.
Once you have completed this step, your original and duplicate image will save as one. This means, you only get charged for the one image.
For the
- Select Single Lot Highlight from the Aerial Editing drop down box.
- Select the relevant item removal option from the drop down box if you require items from your image to be removed. Please note that a car is identified as a large item so you will need to select the large item option.
- You can then specify in the special instructions box the items that need to be removed and any other relevant information.
For the aerial image:
- Select the preferred Drop Pin option to highlight key attractions in the area
- Select Image Enhancement if required. This feature is ideal for those images taken in less than ideal weather conditions.
Once done, click next and make sure to revise your edits before submitting your job to ensure all requirements are listed. When you’re finished, click submit and you’re done. We then take care of the rest by turning your images from drab to fab in 24 hours.


Conclusion
Aerial photography is a great tool for any real estate agent looking to advance their marketing. Hopefully, this tutorial gives you the confidence to take aerial real estate photography with a drone and use it to present your listing in the best possible way to your potential buyers.
Please note: If you are using a drone in the United States for commercial purposes, you require a FAA Part 107 certification and your drone must be registered.
RELATED ARTICLES
Stevens Fine Homes saves thousands in staging and rendering costs using BoxBrownie.com. Marketing Manager Naomi Wright Bellamy credits the platform for faster turnarounds, lower costs, and consistently high-quality visuals across every listing.
READ MORE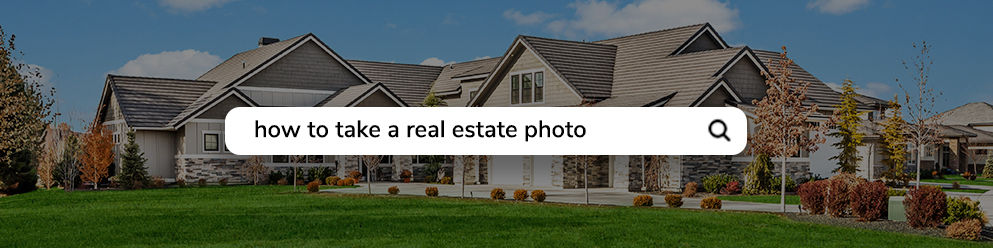
It can be difficult to keep up to speed with the speed of technology. Perhaps nowhere is this more evident than in the realm of real estate photography. In this article, we examined the top four Google search returns for the query “how to take a real estate photo”, and found, in each case, that the results Google came up with were well past their use-by date.
READ MORE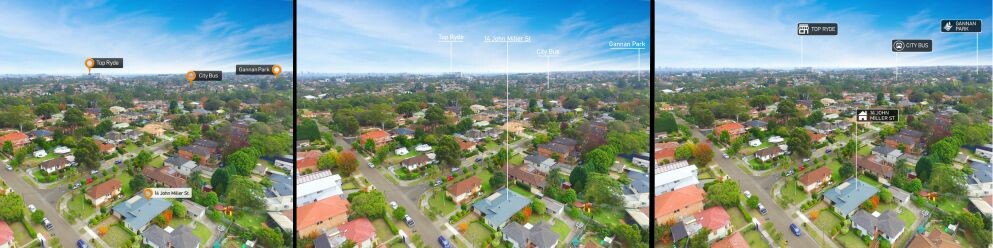
Looking for a fresh way to make your property stand out? Our revamped Aerial Drop Pin edits are here! With sleek new pin designs and customizable options to match your branding, you can create stunning, on-brand visuals that grab attention.
READ MORE
How do you prepare and photograph a new listing when you may also be experiencing significant difficulties simply gaining access to the home? In this blog, we take a look at our top 10 tips for shooting a property when you can’t access the home yourself to help you combat these difficult times.
READ MORE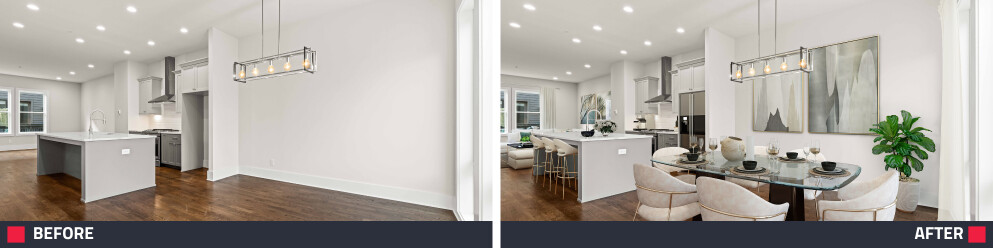
Not every vacant room needs virtual staging. Discover how many listing photos to stage based on property size and type, from studio condos to luxury estates, so you can maximize impact without overspending.
READ MORE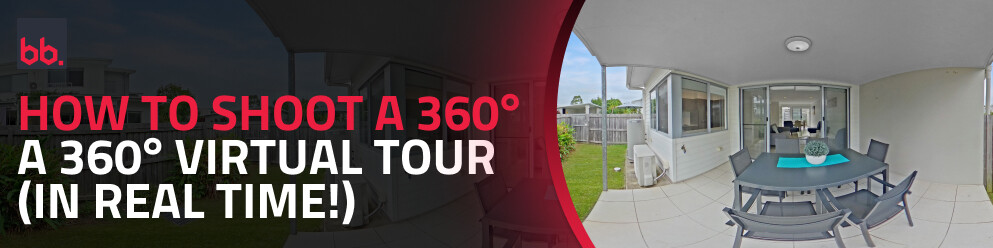
Curious about 360° virtual tours? See how easy it is to shoot and edit a professional-quality tour using simple gear—no tech skills needed.
READ MORE